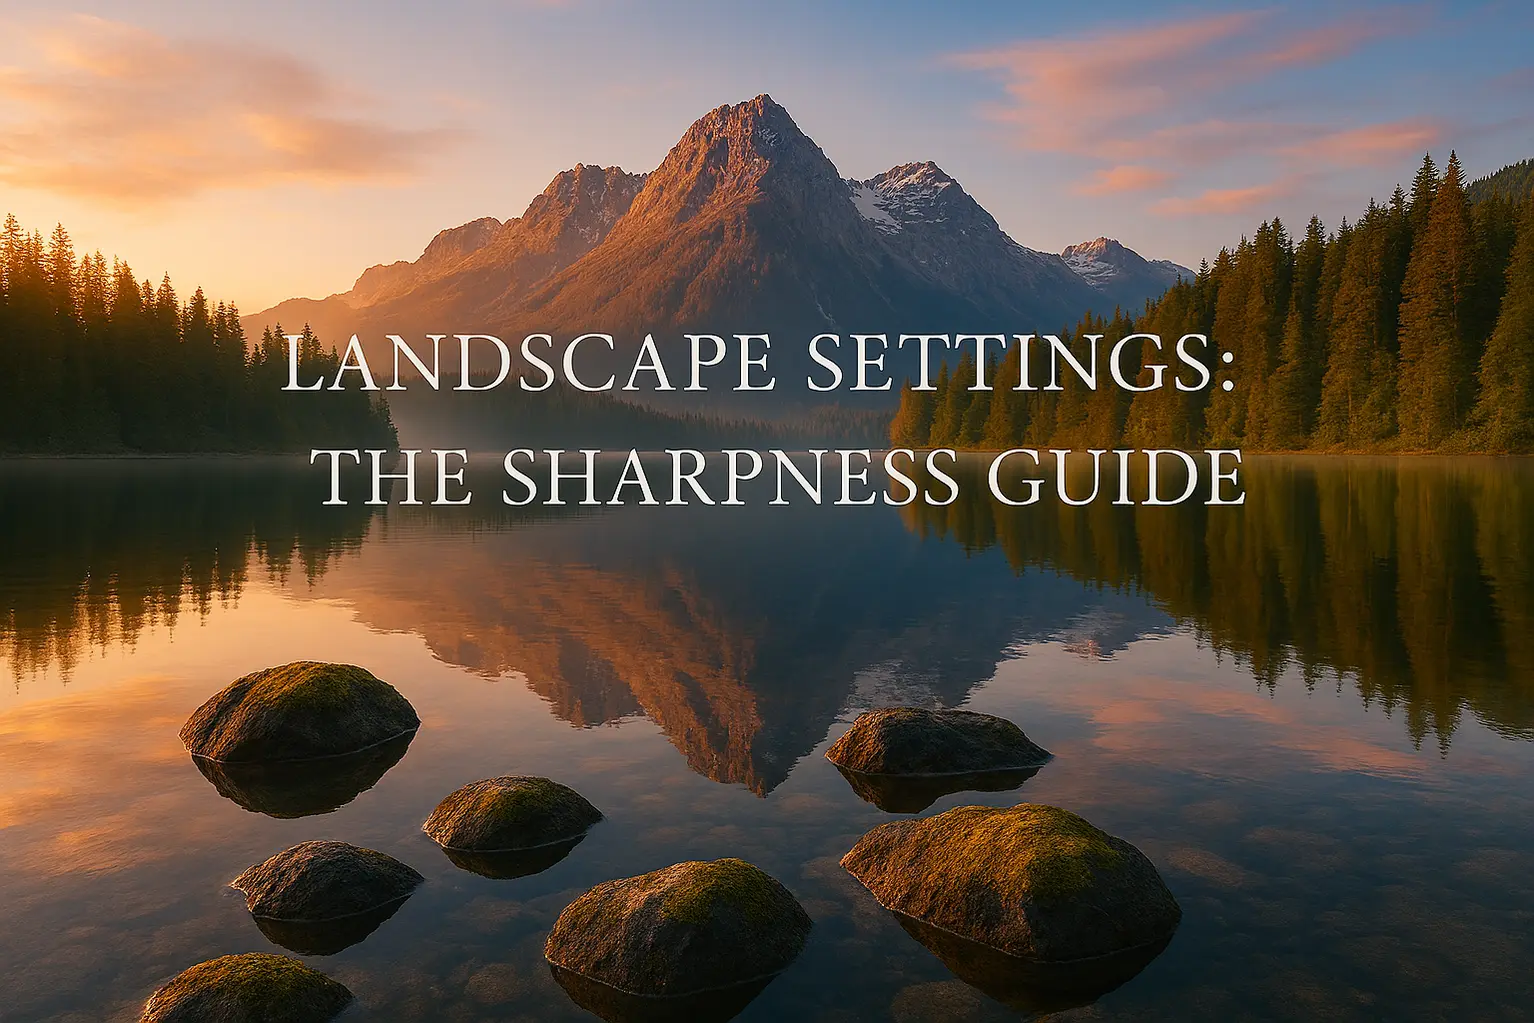
We have all been there. You hike for three hours, wait for the perfect “golden hour” light, and press the shutter on what you think is a masterpiece. But when you get home and pull that file up on a big monitor? It is soft. Maybe the foreground is blurry, or the distant mountains look like they were painted with a wet sponge. It is heartbreaking, right? Landscape photography settings are more than just numbers; they are the bridge between a “nice snapshot” and a gallery-worthy print.
In this guide, I am going to walk you through the exact process I use to ensure every pixel is crisp. We aren’t going to just talk about the Exposure Triangle in a vacuum. I want to show you how these settings interact with the wind, your tripod, and even the glass in your lens. Let’s be honest: your camera is a tool, but it needs a smart operator to handle the nuances of nature.
What you will learn in this guide:
- The “Sweet Spot” aperture for maximum detail.
- Why ISO 100 is your best friend (and when to break the rule).
- Focusing techniques that guarantee edge-to-edge sharpness.
- How to handle environmental factors like wind and mirror slap.
- Daisy’s personal checklist for every landscape shoot.
The Foundation: Why Sharpness Starts Before the Shutter
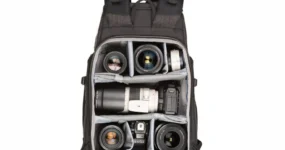
Before we even touch a dial, let’s talk about stability. You can have the best landscape photography settings in the world, but if your camera is shaking, it won’t matter. In the world of landscapes, your tripod is just as important as your sensor. If I were shooting a windy ridge in the Rockies, the first thing I’d do isn’t checking my ISO; it’s ensuring my tripod legs are sunk deep into the dirt.
Most beginners make the mistake of thinking “sharpness” is purely an optical thing. It’s actually a mechanical challenge. Even the tiny vibration of your finger pressing the shutter button can introduce “micro-blur.” That’s why I always recommend using a remote shutter release or the built-in 2-second timer. It sounds like a small detail, but when you are aiming for professional-grade results, those small details are what separate the pros from the hobbyists.
The Role of the Tripod
A tripod isn’t just a stand; it’s a stabilizer. It allows you to use slow shutter speeds without the fear of camera shake. In landscape photography, we often want to use low ISOs and small apertures, which naturally leads to longer exposures. Without a solid base, those settings are unusable.
Why is it important? Because nature doesn’t stand still, and neither do our hands. Even at 1/60th of a second, hand-holding a high-resolution camera can lead to slight blur that you’ll only see when you zoom in 100%. If you’re looking for an upgrade, check out some carbon fiber tripods for landscapes to save your back during those long hikes.
Mirror Lock-Up and Electronic Shutters
If you are still rocking a DSLR, the physical movement of the mirror flipping up can cause a tiny “thump” that ruins sharpness at certain shutter speeds. Mirror Lock-Up (MLU) is a setting you need to find in your menu. For mirrorless users, the “Electronic Front Curtain Shutter” is your equivalent secret weapon. It eliminates mechanical vibration entirely, ensuring the sensor stays perfectly still the moment the light hits it.
Aperture Deep Dive: Finding the Lens Sweet Spot
Aperture is the most discussed of all landscape photography settings, and for good reason. It controls your Depth of Field (DoF)—the amount of the scene that is in focus. If you want those flowers at your feet and the peaks in the distance to both be sharp, you need a smaller aperture (higher f-number). But here is the catch: you can go too far.
I see so many photographers cranking their lens to f/22 because they think “bigger number equals more sharpness.” Let’s be honest: that is a myth. Due to a physics phenomenon called diffraction, very small apertures actually make your image softer. The light rays get squeezed so much that they begin to interfere with each other. If I were shooting a standard vista, I’d almost always stick to the “sweet spot” of my lens.
Understanding Depth of Field
Depth of field is the zone of acceptable sharpness in an image. In landscapes, we generally want a “deep” DoF. This is achieved by using a wide-angle lens and a narrow aperture. By understanding how your focal length and aperture work together, you can manipulate what the viewer sees first.
How do you apply this? Start at f/8. Take a test shot and zoom in on the furthest point and the closest point. If one is blurry, move to f/11. If you still can’t get it all, you might need to move your focus point or look into more advanced tilt-shift lenses for extreme depth control.
The Problem with Diffraction
Diffraction occurs when light waves pass through a small opening and start to spread out. It’s like water passing through a tiny nozzle; it gets “sprayed” rather than staying in a tight stream. This causes fine details to blur together. Most modern high-resolution sensors will start to show diffraction as early as f/13 or f/16. Keep your settings in that f/8 to f/11 range to keep your pixels happy.
The ISO Secret: Keeping Noise from Killing Detail
When it comes to landscape photography settings, ISO is the one you should set and forget—if possible. ISO 100 (or your camera’s “Base ISO”) provides the cleanest image with the highest dynamic range. Dynamic range is crucial in landscapes because we are often dealing with very bright skies and very dark shadows. If you push your ISO too high, you introduce “noise” or “grain,” which eats away at the fine textures of rocks, leaves, and clouds.
Here’s what I’d actually do: I keep my camera locked at ISO 100. If the light is fading and my shutter speed is getting too long (let’s say 30 seconds), I don’t touch the ISO. I just let the shutter stay open longer. Why? Because I’m on a tripod! The only time I’d ever bump my ISO is if I’m shooting hand-held or if there is something moving in the frame (like trees in a gale) that I need to freeze with a faster shutter speed.
The Trade-off: ISO vs. Dynamic Range
Dynamic range is the ability of your sensor to capture detail in both the brightest highlights and the darkest shadows. At ISO 100, your camera has its maximum “clout” to see into those shadows. As you increase ISO, that range shrinks. In a high-contrast sunrise, losing that range means your highlights will blow out or your shadows will turn into a muddy, noisy mess.
When to Use “Extended” ISO
Some cameras offer ISO 50 or 64. These can be great for slightly longer exposures without a filter, but be careful—sometimes these “extended” ranges actually have less dynamic range than the base ISO 100. Always check your manual. For most of us, sticking to 100 is the safest bet for maximum sharpness and color depth.
Focusing Techniques: Where to Aim for Maximum Depth
You’ve got your tripod, your aperture is at f/9, and your ISO is 100. Now, where do you focus? If you focus on the distant mountains, your foreground might be blurry. If you focus on that cool rock right in front of you, the background will definitely be soft. This is where the “One-Third Rule” comes in. Generally, focusing about one-third of the way into the scene provides the best balance of sharpness from front to back.
For those who want to get technical, we call this the Hyperfocal Distance. It’s the focus distance that gives you the maximum depth of field. You can use apps to calculate this, but honestly? In the field, I usually just use “Live View,” zoom in 10x on my screen, and manually focus on a point that looks like it’s in that first third. It’s faster and usually just as effective.
Using Back-Button Focus
Back-button focus separates the focusing action from the shutter button. This is a game-changer for landscapes. It means you can focus once, and then take as many shots as you want without the camera trying to re-focus every time you press the shutter. It’s one of those landscape photography settings that feels weird for a day and then you can’t live without it.
Focus Peaking and Magnification
Modern mirrorless cameras have “Focus Peaking,” which highlights the sharpest areas of your image with a bright color (usually red or yellow). Use this in combination with image magnification. Zoom in on your foreground subject, tweak the focus ring until it glows, then check your background. It’s like having a superpower for sharpness.
Genre Decision Table: Sharpness vs. Creative Motion
Not every landscape needs to be “frozen” in time. Sometimes, you want to use your landscape photography settings to tell a different story. Here is how I decide which way to go:
| Scenario | Primary Goal | Aperture | Shutter Speed | Daisy’s Gear Pick |
|---|---|---|---|---|
| Classic Mountain Vista | Edge-to-edge Sharpness | f/8 – f/11 | 1/10s – 1s | Wide-angle Lens |
| Waterfall/Stream | Silky Water Motion | f/11 – f/16 | 0.5s – 5s | ND Filter Kit |
| Coastal/Crashing Waves | Texture in Water | f/8 | 1/2s – 1/8s | Sturdy Tripod |
| Forest/Woodland | Isolating Detail | f/4 – f/5.6 | 1/100s+ | Telephoto Lens |
After you’ve picked your scenario, follow these steps:
- Set your camera on the tripod and level it.
- Select Aperture Priority (Av or A mode).
- Set ISO to 100 and Aperture to f/8.
- Use a 2-second timer to take the shot.
Common Mistakes Beginners Make
We’ve all been there—thinking we did everything right only to find a flaw later. Here are the most common “sharpness killers” I see in the field:
- Leaving Image Stabilization (IS/VR) ON while on a tripod: This is a big one! When the camera is on a tripod, the stabilization system can actually create vibration by looking for movement that isn’t there. Always turn it off when you’re locked down.
- Using a “Cheap” UV Filter: Why spend $2,000 on a lens and put a $20 piece of plastic glass in front of it? Cheap filters degrade sharpness and increase flare. If you don’t need protection, take it off.
- Focusing on the Horizon: If you focus on the “infinity” point of the horizon, you lose half of your potential depth of field. Always focus slightly closer into the scene.
- Not Shielding the Wind: On a windy day, even a tripod can vibrate. Use your body to block the wind or hang your camera bag from the tripod’s center hook for extra weight (but make sure it doesn’t swing!).
Putting It Into Practice: A Real-World Scenario
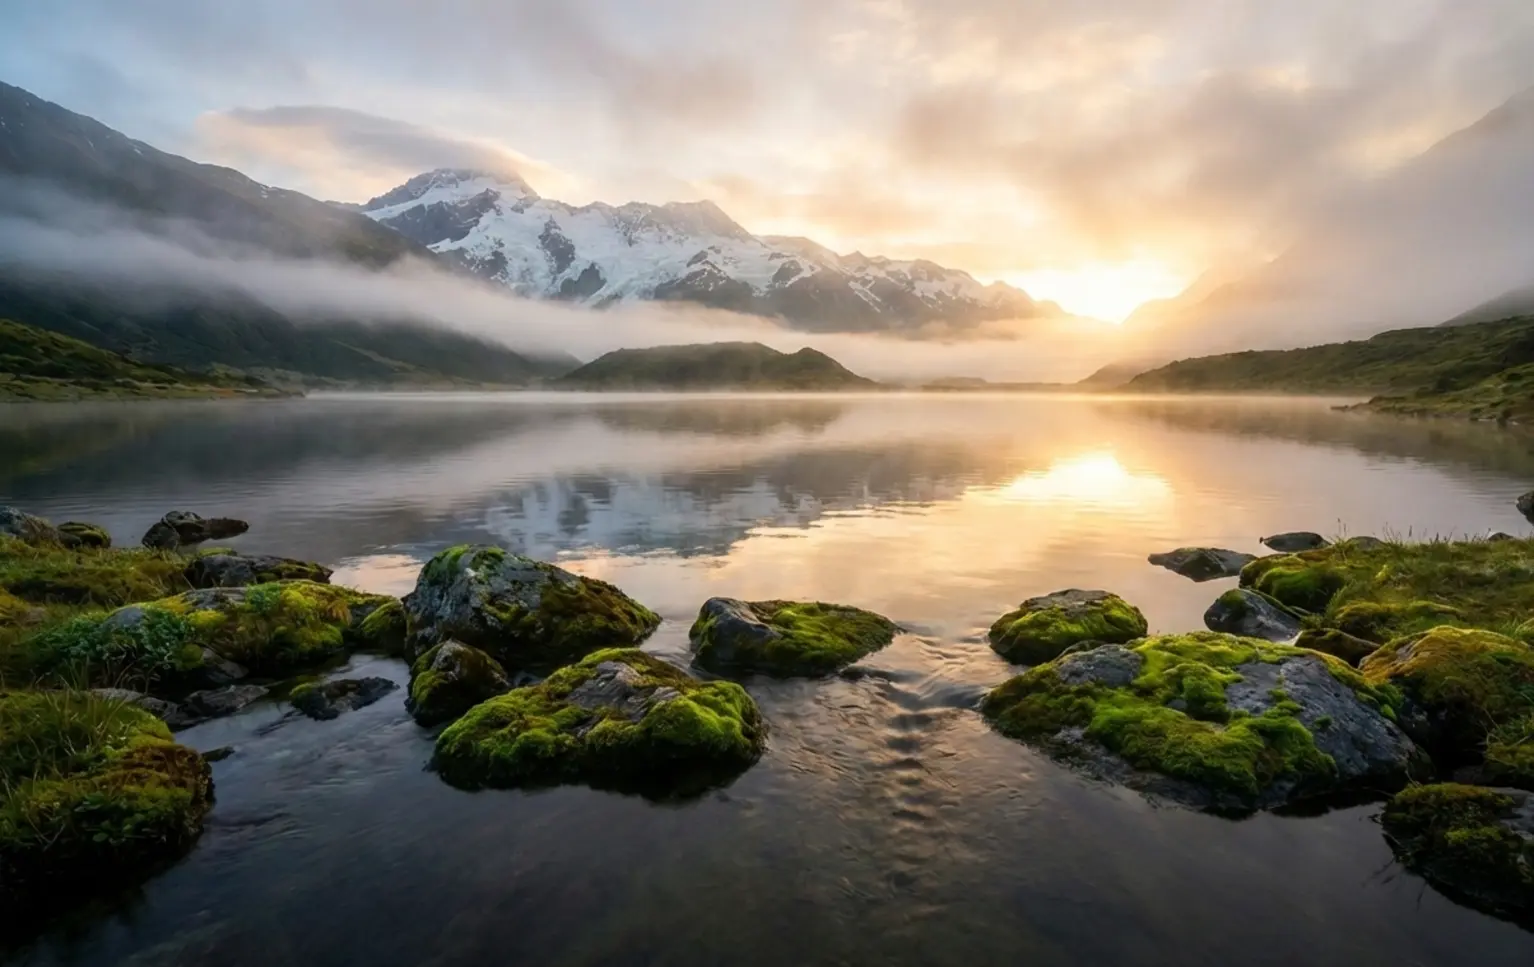
Imagine we are standing at the edge of a lake at dawn. The water is still, and there are beautiful rocks in the shallow foreground. The mountains are reflected in the glass-like surface. Here is how I’d set up that shot for maximum sharpness.
First, I’d set my tripod low to the ground to emphasize those rocks. I’d pick an f-stop of f/11 because those rocks are quite close, and I need that extra depth. My ISO stays at 100. Because it’s dawn, the camera suggests a shutter speed of 2 seconds. Perfect. I’ll use my remote shutter release to avoid touching the camera. I focus on a point on the water’s edge, about 5 feet in front of me. I take the shot, and the result? Crisp rocks, sharp mountains, and a dream-like reflection.
If the wind starts to pick up and the trees begin to blur, I’d have a choice. I could lean into the motion, or I could bump my ISO to 400 or 800 to get a faster shutter speed (like 1/100s) to freeze the leaves. This is the “practice” part of the 3P rule—making real-time decisions based on the conditions nature gives you.
Conclusion
Achieving tack-sharp images is a mix of technical precision and environmental awareness. By mastering your landscape photography settings—specifically the relationship between aperture sweet spots, base ISO, and stable shutter speeds—you remove the guesswork from your workflow. Remember, sharpness isn’t just about the lens; it’s about how you manage vibrations and where you choose to place your focus. Don’t be afraid to experiment with focus stacking for extreme scenes, but for 90% of your work, the “Sweet Spot” (f/8-f/11) will be your best friend.
Following the 3P Rule:
- Principle: Understand the physics of diffraction and depth of field.
- Practice: Get out there in different lighting and wind conditions to see how your gear reacts.
- Progress: Review your shots at 100% zoom, learn where you failed, and refine your technique for the next hike.
Sharpness is great, but don’t let it paralyze you! A slightly soft photo of an incredible moment is always better than a perfectly sharp photo of a boring one. Do you have a “secret” setting you use for landscapes? Or maybe a favorite tripod that has never let you down? Drop a comment below and let’s chat! I respond to every single one.
Frequently Asked Questions
Is f/22 the best aperture for landscapes?
Actually, no! While f/22 provides a huge depth of field, it usually suffers from diffraction, which makes the entire image look slightly soft. For most landscape lenses, the sharpest results are found between f/8 and f/11. If you absolutely need more focus, try “focus stacking” multiple shots at f/8 instead of stopping down to f/22.
Daisy always says: “Trust the sweet spot, not the highest number.” Most modern lenses are optimized for that middle range, and you’ll see a noticeable difference in the texture of rocks and foliage when you stay away from the extremes.
Do I really need a tripod for sharp photos?
If you are shooting in the “Golden Hour” or anytime the light is low, yes. While modern cameras have great image stabilization, they can’t match the absolute stillness of a tripod. A tripod also slows you down and makes you more intentional about your composition. If you’re hiking and want to stay light, a high-quality travel tripod is a worthy investment.
In bright daylight, you can get away with hand-holding at 1/250s or faster, but for that “pro” look with everything in focus, a tripod is non-negotiable for most pros I know.
What is the “Hyperfocal Distance” anyway?
It sounds like sci-fi, but it’s just the focus distance that gives you the most depth of field for your current settings. Basically, if you focus at the hyperfocal distance, everything from half that distance all the way to infinity will be “acceptably sharp.” It’s a great way to ensure your background doesn’t go soft while keeping your foreground clear.
Many photographers use apps like PhotoPills to calculate this, but a good rule of thumb is to focus on something about one-third of the way into the frame. It gets you very close to the hyperfocal point without the math!
Should I use Auto ISO for landscapes?
I generally recommend against it. In landscape photography, we want total control over the “cleanliness” of the image. Auto ISO might jump to ISO 800 just because a cloud passed over, introducing unnecessary noise. Since we are usually on tripods, we prefer to let the shutter speed get longer rather than letting the ISO get higher. Keep it at 100 and only move it if you’re forced to by moving subjects or hand-holding.