Hi, I’m Daisy. 👋
If you’ve ever taken a photo and wondered why the background suddenly turned into a soft blur — or why everything looks sharp no matter what you do — you’re already asking the right questions.
Today, we’re talking about aperture. And don’t worry — this is not going to be one of those confusing, technical explanations filled with formulas and camera diagrams.
Aperture is one of the most important ideas in photography, but it’s also one of the most misunderstood. Beginners often hear things like “use f/1.8 for blurry backgrounds” or “higher f-numbers mean more depth” without really understanding why.
In this guide, I’ll explain aperture the same way I do when I’m teaching someone who just picked up their first camera. We’ll keep it simple, visual, and practical — with real-world examples you can actually try.
By the end of this article, you’ll understand:
- What aperture really is
- Why f-numbers seem backwards (and how to remember them)
- How aperture controls depth of field
- Which aperture settings work best for common situations
If you’ve already read my guides on ISO or the Exposure Triangle, this article will help everything click into place. And if this is your first stop in the Daisy Teaches series — welcome. You’re exactly where you need to be.
Let’s make aperture simple. 📸✨
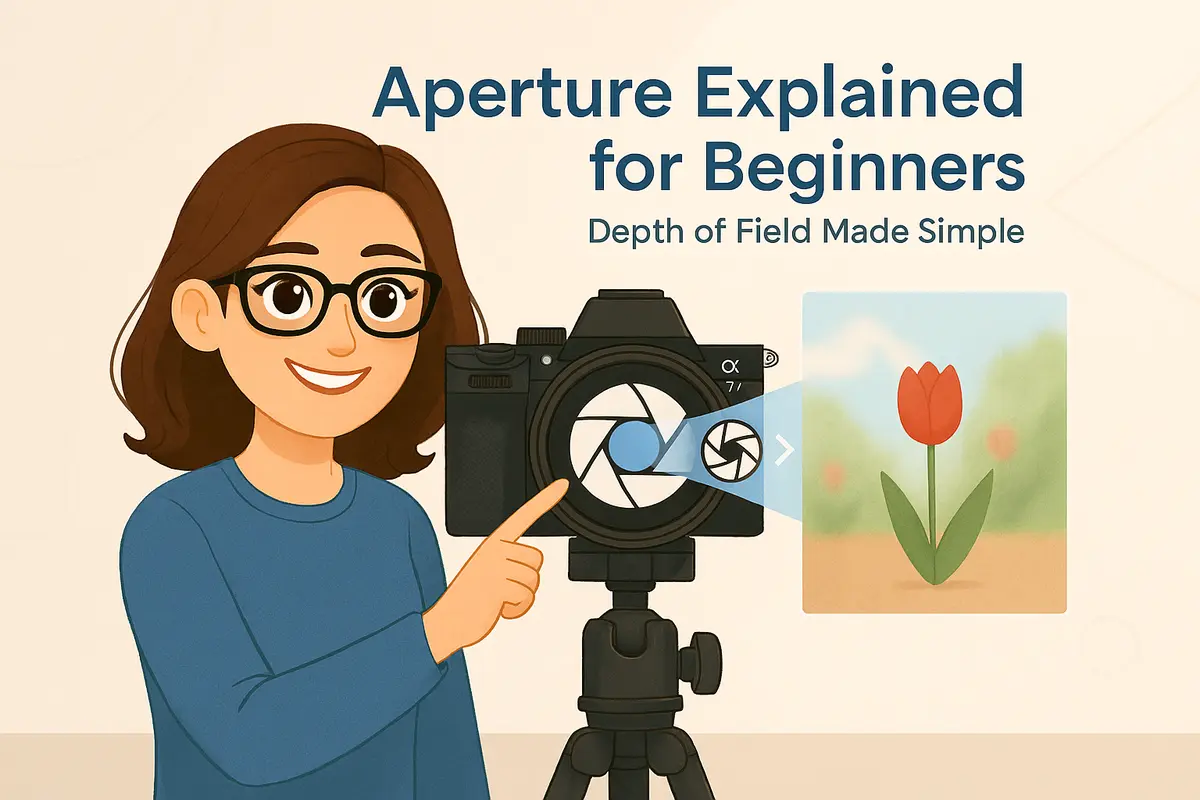
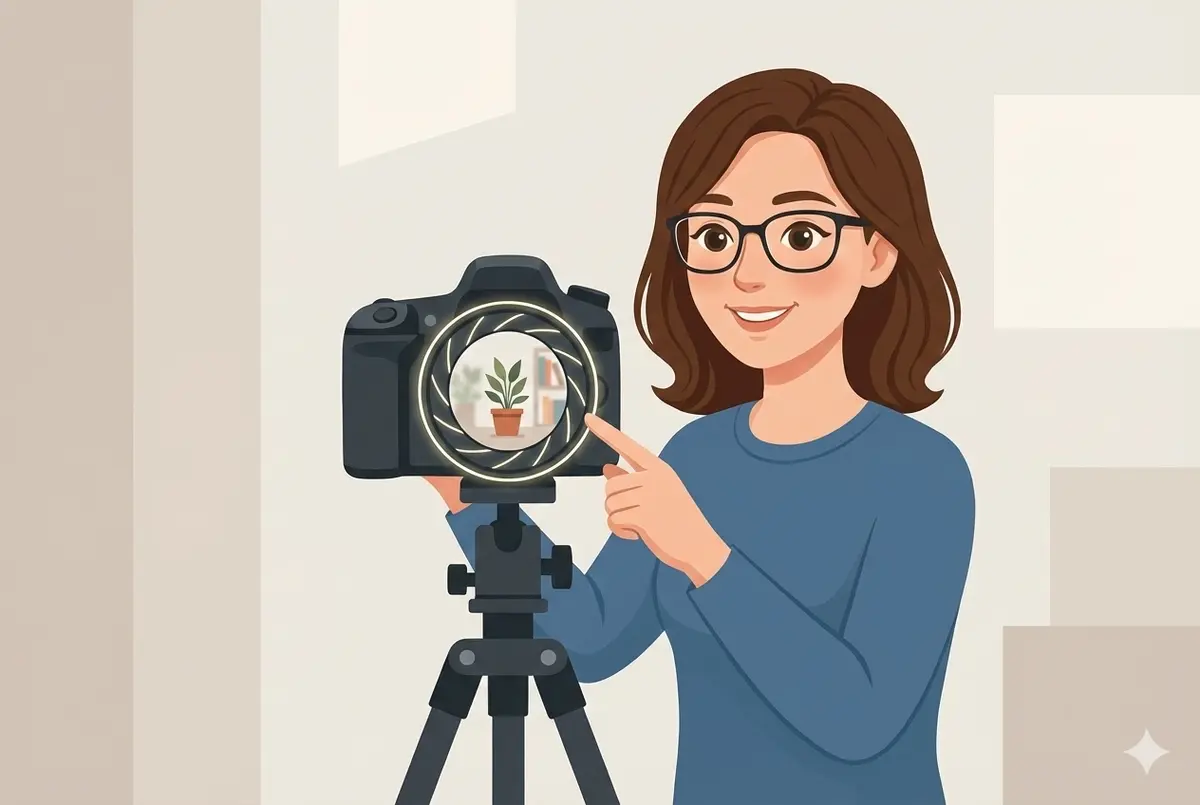
What Is Aperture?
Let’s start with the simplest explanation possible.
Aperture is the opening inside your camera lens that lets light in.
You can think of it like the pupil of your eye. In a dark room, your pupils open wider to let in more light. In bright sunlight, they get smaller to protect your eyes. Your lens does something very similar.
When you change the aperture on your camera, you are physically changing how wide that opening is.
Aperture controls two things at the same time:
- How much light enters the camera
- How much of your image appears sharp (depth of field)
This is why aperture is such a big deal. It doesn’t just affect brightness — it also affects the look and feeling of your photo.
A wide aperture can make your subject stand out beautifully from the background. A small aperture can keep everything in focus from front to back. Neither is “better” — they simply create different results.
Daisy’s tip: When beginners struggle with aperture, it’s usually because they try to think about numbers first. Instead, think about size. Is the lens opening wide, or is it narrow? The rest will make more sense from there.
Now that you know what aperture physically is, let’s talk about the part that confuses almost everyone at the beginning: f-numbers.
Understanding f-Stops (Why the Numbers Feel Backwards)
If aperture has one part that confuses almost every beginner, it’s this.
Why does f/1.8 let in more light than f/8?
Why does a smaller number mean a bigger opening?
You’re not alone — this feels backwards at first. But once you understand what f-numbers actually represent, it becomes much easier to remember.
An f-number (also called an f-stop) is a ratio. It describes the size of the aperture opening compared to the focal length of the lens.
Here’s the key idea:
- Small f-number (f/1.8) → large opening → more light
- Large f-number (f/8, f/11) → small opening → less light
You don’t need to remember the math behind it. Just remember the direction:
As the f-number goes up, the aperture opening gets smaller.
A helpful way to visualize this is to imagine you’re looking through a tunnel. A wide tunnel lets a lot of light through. A narrow tunnel restricts it. The f-number tells you how wide that tunnel is.
Daisy’s tip: If the numbers ever confuse you in the field, don’t overthink it. Ask yourself one simple question: Do I want more light and background blur, or more sharpness across the scene? Then choose the f-number that matches that goal.
Now that f-numbers make a little more sense, it’s time to talk about what most people really care about: depth of field.
Aperture and Depth of Field (The Look Everyone Loves)
When people talk about aperture, they’re usually talking about depth of field — even if they don’t realize it.
Depth of field describes how much of your photo appears sharp from front to back.
Sometimes you want only your subject in focus, with the background melting away. Other times, you want everything sharp — from the foreground to the distant horizon. Aperture plays a huge role in deciding which of those looks you get.
Here’s the simple rule:
- Wide aperture (f/1.8 – f/2.8) → shallow depth of field → blurry background
- Small aperture (f/8 – f/16) → deep depth of field → more of the scene in focus
This is why portraits often use wide apertures. The subject pops, and distractions disappear. Landscapes, on the other hand, usually benefit from smaller apertures so the entire scene stays sharp.
What’s important to understand is that aperture doesn’t work alone. Distance to your subject and focal length also affect depth of field. But as a beginner, changing aperture is the easiest and most direct way to control it.
Daisy’s tip: If you’re unsure which aperture to use, start by deciding what matters more in your photo — the subject or the scene. Aperture is your way of telling the camera where you want attention to go.
Let’s make this even clearer by looking at some real-world shooting situations.
Real-World Aperture Examples
Understanding aperture becomes much easier when you see how it’s used in everyday shooting situations. Let’s look at a few common scenarios you’ll encounter as a beginner.
Portrait Photography
For portraits, a wide aperture is usually your best friend. Using settings like f/1.8, f/2, or f/2.8 helps blur the background and keeps attention on your subject’s face.
This works especially well when your subject is separated from the background. Even a simple location can look professional when the background melts away.
Daisy’s tip: Don’t worry if your lens doesn’t open to f/1.8. Even f/3.5 or f/4 can create beautiful background blur when you move closer to your subject.
Landscape Photography
Landscapes usually benefit from a smaller aperture. Settings like f/8 to f/11 help keep both the foreground and background in focus.
This is useful when you want the viewer to explore the whole image — from nearby elements like rocks or flowers all the way to distant mountains or buildings.
Many photographers avoid going too small (like f/22) because very tiny apertures can reduce overall sharpness. For most situations, f/8 or f/11 is a great starting point.
Street and Everyday Photography
Street photography often requires a balance. You may want enough depth of field to keep your subject sharp, but not so much that the background becomes distracting.
Aperture settings around f/4 to f/5.6 are commonly used because they provide a good mix of sharpness and flexibility — especially when subjects are moving.
Daisy’s tip: When shooting on the street, don’t chase perfect blur. A clear subject and good timing matter far more than extreme background separation.
Once you see how aperture behaves in real situations, choosing the right setting starts to feel much more intuitive.
Common Aperture Mistakes Beginners Make
Learning aperture is exciting, but it’s also very easy to fall into a few common traps — especially when you’re just getting started.
If you ever feel confused by photography terms in general, you may want to begin with our guide to basic photography terms. Understanding the language makes everything else easier.
Using the Widest Aperture All the Time
Many beginners discover background blur and then never want to let it go. Shooting everything at f/1.8 can look beautiful — but it’s not always the right choice.
At very wide apertures, depth of field becomes extremely shallow. This means small movements can throw important parts of your subject out of focus, especially in portraits.
Daisy’s tip: Wide apertures are a creative tool, not a default setting. Use them intentionally, not automatically.
Assuming Smaller Aperture Always Means Better Quality
Some beginners believe that closing the aperture as much as possible will always produce sharper images. In reality, extremely small apertures like f/22 can actually reduce image sharpness.
Most lenses perform best somewhere in the middle. For many situations, f/8 or f/11 delivers excellent detail without sacrificing image quality.
Ignoring Distance to the Subject
Aperture doesn’t work in isolation. Your distance to the subject plays a huge role in how much background blur you see.
If you step closer to your subject, depth of field becomes shallower — even at the same aperture. Step back, and more of the scene comes into focus.
Daisy’s tip: Before changing your aperture, try taking one step forward or backward. You’ll often see a bigger difference than you expect.
Forgetting Aperture Is Part of a Bigger System
Aperture is only one part of exposure. Changing it affects how much light enters the camera, which often requires adjustments to shutter speed or ISO.
This is where many beginners start to feel stuck — but don’t worry. Aperture becomes much easier once you understand how it works together with the other exposure controls.
Let’s take a quick look at how aperture fits into the bigger exposure picture.
How Aperture Works with ISO and Shutter Speed
Aperture is powerful on its own, but it truly makes sense when you see how it works together with ISO and shutter speed.
These three settings form what photographers call the exposure triangle. If you’re new to the concept, I recommend reading my full guide on the Exposure Triangle — it ties everything together.
Here’s the most important thing to remember:
Changing aperture always affects exposure.
- Wider aperture → more light enters the camera
- Smaller aperture → less light enters the camera
When you open up the aperture, your image becomes brighter. To compensate, you may need to use a faster shutter speed or lower ISO. When you close the aperture, you may need a slower shutter speed or higher ISO.
This balance is what allows you to control both the technical exposure and the creative look of your photos.
If ISO still feels confusing, you can also read my beginner-friendly guide on understanding ISO.
Daisy’s tip: Don’t try to master all three settings at once. Start by choosing your aperture for the look you want, then adjust shutter speed and ISO to get the correct exposure.
Once you approach exposure this way, photography becomes far less overwhelming — and much more fun.
Daisy’s Final Thoughts
Aperture isn’t just a technical setting. It’s a creative decision.
Every time you change your aperture, you’re deciding what matters most in your photo — the subject, the background, or the entire scene. That’s a powerful choice, and it’s one you’ll start making instinctively with practice.
If you remember just one thing from this guide, let it be this: aperture controls attention. Use it to guide the viewer’s eye and tell your story.
In the next lessons, we’ll keep building on this foundation step by step. You’re doing great — and you’re learning photography the right way.
See you in the next Daisy Teaches guide. 📸✨