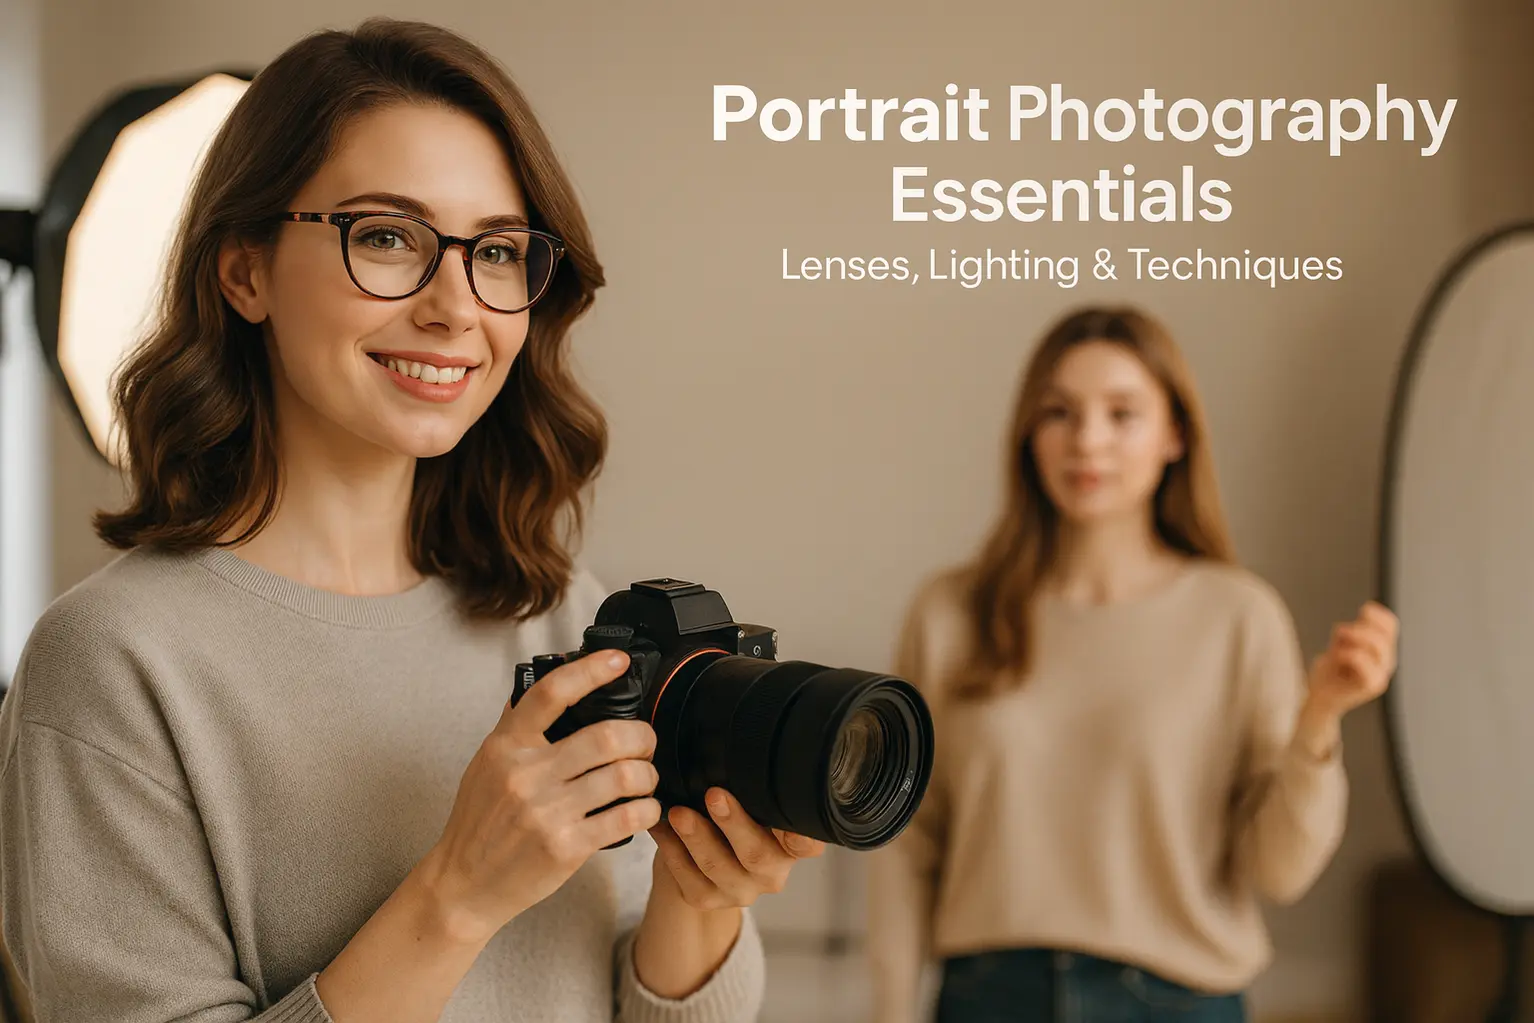
One of the first things I learned about portrait photography is that it’s never just about the camera. You can have the best gear in the world, but without understanding your subject, your light, and your lens, a portrait will always feel incomplete.
In this Daisy’s Genre Spotlight guide, I want to walk you through the true essentials of portrait photography — from choosing the right lenses to shaping light in a way that feels natural, and using simple techniques that help your subject feel comfortable in front of the camera.
Whether you’re shooting your first portraits at home, experimenting with window light, or slowly building a portrait setup, learning how lens choice, lighting, and technique work together will instantly improve your results.
This guide isn’t about perfection or complicated setups. It’s about understanding what really matters in portrait photography — so you can create images that feel honest, expressive, and memorable.
Let’s start with the heart of it all.
What Is Portrait Photography?
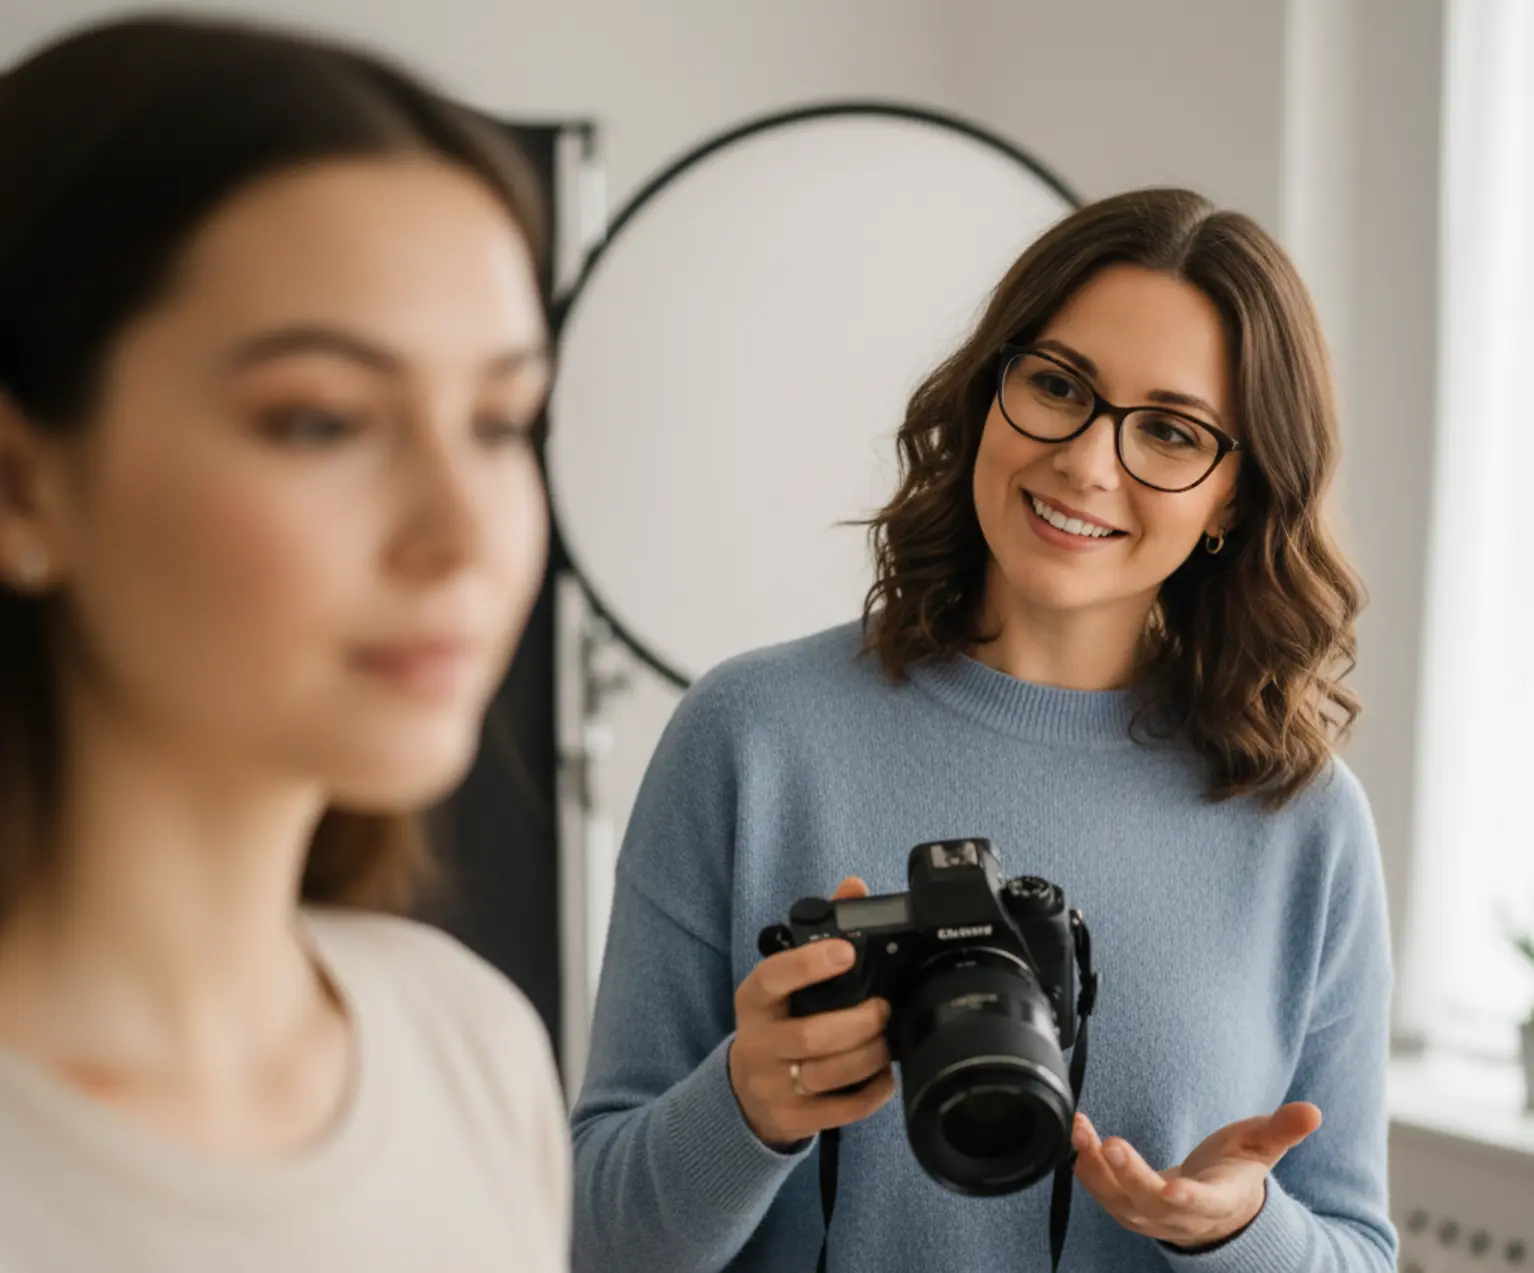
At its core, portrait photography is about people. It’s about observing small details — a look, a gesture, a moment of connection — and using your camera to preserve them in a meaningful way.
Unlike other genres, portraits rely heavily on how your subject feels during the shoot. Your choice of lens, how you use light, and the way you interact with the person in front of the camera all directly affect the final image.
What Makes a Great Portrait?
- Expression — genuine emotion always matters more than a perfect pose
- Light — soft, directional light shapes mood and depth
- Lens choice — focal length affects perspective and background separation
- Connection with your subject — comfort creates authenticity
Best Lenses for Portrait Photography
In portrait photography, lens choice matters more than most beginners realize. The focal length you use affects facial proportions, background blur, and how close you feel to your subject.
While many lenses can technically take portraits, some are simply better suited for creating flattering, natural-looking images. Let’s start with the most popular option.
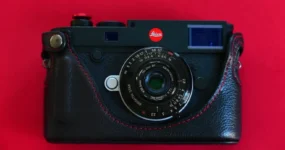
Prime Lenses for Portraits (The Classic Choice)
✔ Sharp subject separation
✔ Low-light portrait photography
Prime lenses — lenses with a fixed focal length — are a favorite among portrait photographers for a reason. They’re usually sharper, brighter, and better at separating the subject from the background.
Some of the most commonly used focal lengths for portrait photography include 35mm, 50mm, and 85mm. Each one creates a slightly different look, but all three are excellent starting points.
Wide apertures like f/1.8 or f/1.4 allow you to blur the background beautifully while keeping your subject crisp and clear, even in low light.
Tip: Prime lenses are ideal if you want creamy background blur and sharper portraits with minimal effort.
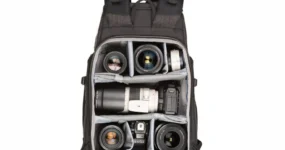
Zoom Lenses for Portrait Photography
✔ Studio flexibility
✔ Travel and lifestyle portraits
Zoom lenses offer flexibility, especially when you can’t move freely or need to adjust framing quickly. Popular choices like 24–70mm and 70–200mm zooms are widely used by professional portrait photographers.
While zoom lenses may not always match the ultra-wide apertures of primes, they compensate with versatility. Being able to reframe without changing lenses can be a major advantage during events or fast-paced portrait sessions.
If you value convenience and adaptability over maximum background blur, a high-quality zoom lens can be an excellent portrait tool.
Tip: Zoom lenses shine when you shoot portraits in dynamic environments or limited spaces.
Portrait Photography Lighting Essentials
Lighting is where portrait photography truly comes alive. You can have the perfect lens and camera settings, but without good light, a portrait will always feel flat.
The good news? You don’t need expensive gear to create beautiful portrait lighting. Once you understand how light behaves, even simple setups can produce stunning results.
Natural Light Portraits
Natural light is often the best starting point for portrait photography — it’s soft, flattering, and always available if you know where to look.
Window light is one of my favorite tools for indoor portraits. Position your subject near a window, turn off overhead lights, and let the soft side light shape the face naturally.
Golden hour, the hour after sunrise or before sunset, provides warm, directional light that adds depth and emotion to portraits. It’s incredibly forgiving and perfect for beginners.
Open shade is another powerful option. Placing your subject in the shade while facing an open sky gives you even, soft lighting without harsh shadows or squinting eyes.
Artificial Light Basics
Artificial light gives you control — and control means consistency. Once you understand the basics, lighting indoors or at night becomes much less intimidating.
Speedlights are compact flashes that mount on your camera or stand. When bounced off a wall or ceiling, they can create soft, natural-looking light for portraits.
Continuous lights are great for beginners because what you see is what you get. They’re especially useful for home studios, video, and learning light placement.
Softboxes and reflectors help shape and soften light. A softbox diffuses harsh light, while a reflector fills shadows and adds brightness where needed.
Whether you’re using sunlight or studio lights, always pay attention to where the light is coming from. Side light creates depth, backlight adds mood, and flat front light should be used carefully.
Camera Settings for Portrait Photography
Camera settings can feel intimidating at first, but portrait photography doesn’t require complicated math or constant trial and error. Once you understand how aperture, shutter speed, and ISO work together, choosing the right settings becomes almost instinctive.
This is where the Exposure Triangle really comes into play — and portraits are one of the best genres to learn it.
Aperture, Shutter Speed & ISO
Aperture is usually the first setting I think about when shooting portraits. A wide aperture (like f/1.8, f/2, or f/2.8) creates a shallow depth of field, which helps separate your subject from the background and gives portraits that soft, professional look.
If you’re new to this, you can explore it more deeply in my beginner guide:
Daisy Teaches: Aperture for Beginners.
Shutter speed matters more in portraits than many beginners realize. Even small movements — a head tilt or a hand gesture — can cause blur if your shutter speed is too slow.
As a general rule, try to stay at 1/125s or faster for handheld portrait photography. If your subject is moving or you’re shooting candid portraits, don’t hesitate to go faster.
You can learn how shutter speed affects motion here:
Daisy Teaches: How Shutter Speed Works.
ISO controls how sensitive your camera is to light. For portraits, keeping ISO as low as possible helps maintain clean skin tones and smooth background blur.
Start at ISO 100 or 200 whenever light allows. If the scene is darker, increase ISO gradually rather than sacrificing shutter speed or aperture.
If ISO still feels confusing, this guide will clear it up:
Daisy Teaches: Understanding ISO.
Once these three settings are balanced, you can focus less on the camera — and more on your subject’s expression, mood, and connection.
Portrait Photography Techniques That Make a Difference
Great portrait photography isn’t just about sharpness or expensive gear. It’s about how the subject feels in the frame — and how the viewer connects with that moment.
Once your light and camera settings are under control, these simple techniques will instantly make your portraits feel more natural, intentional, and powerful.
Posing & Composition
Posing doesn’t mean forcing your subject into stiff positions. In fact, the best portraits often come from small adjustments rather than dramatic poses.
Eyes are the emotional anchor of a portrait. Make sure at least one eye is sharp, well-lit, and naturally engaging with the camera or the scene.
Head angle makes a huge difference. A slight tilt or turn can soften facial features and create a more flattering perspective compared to a straight-on pose.
Negative space helps your subject breathe within the frame. Leaving empty space around your subject can draw more attention to their expression and mood.
Background & Subject Separation
A busy background can easily steal attention from your subject. One of the simplest ways to improve portrait photography is learning how to separate the subject from what’s behind them.
Distance plays a key role here. The farther your subject is from the background, the easier it becomes to blur it — even with moderate apertures.
Compression depends on your lens choice and shooting distance. Longer focal lengths naturally compress the scene, making backgrounds appear closer and smoother.
Blur vs context is a creative decision. Sometimes you want a creamy background; other times, showing the environment adds storytelling value to the portrait.
When the background is clean and intentional, viewers focus on the person — not on distractions competing for attention.
Best Lenses for Portrait Photography (From Beginner to Pro)
The lens you choose has a huge impact on how your portraits look and feel. It affects background blur, facial perspective, and how close you need to be to your subject.
The good news? You don’t need a large collection of lenses to take great portraits. One well-chosen lens can carry you a very long way.
50mm Lenses: The Perfect Starting Point
A 50mm lens is often called the “nifty fifty” — and for good reason. It offers a natural perspective, works beautifully in low light, and creates pleasing background blur at wide apertures.
This focal length is especially popular with beginners because it’s affordable, versatile, and excellent for learning depth of field control.
Check 50mm Portrait Lens Prices
Tip: A 50mm f/1.8 lens is one of the best-value investments for portrait photography.
85mm Lenses: Classic Portrait Look
If you love creamy background blur and flattering facial compression, the 85mm lens is a portrait favorite. It allows you to keep a comfortable distance from your subject while maintaining strong subject separation.
This focal length is ideal for headshots, outdoor portraits, and professional-looking results.
Check 85mm Portrait Lens Prices
Tip: Best choice if you want maximum background blur and flattering perspective.
Zoom Lenses vs Prime Lenses for Portraits
Prime lenses (fixed focal length) are loved for their sharpness, wide apertures, and beautiful background blur. They encourage you to move and think more deliberately about composition.
Zoom lenses, on the other hand, offer flexibility. A high-quality 24–70mm or 70–200mm zoom can handle portraits, events, and everyday photography without changing lenses.
If portraits are your main focus, primes usually deliver the best results. If versatility matters more, a good zoom lens can still produce excellent portraits.
Common Portrait Photography Mistakes
Even experienced photographers fall into certain portrait photography traps. The key is knowing what to avoid — and how to fix it quickly.
Wrong focal length is one of the most common issues. Shooting portraits with very wide lenses can distort facial features and make subjects look unnatural. Choosing portrait-friendly focal lengths helps maintain flattering proportions.
Harsh light can create unflattering shadows, shiny skin, and squinting eyes. Midday sun or direct flash without diffusion often causes these problems. Whenever possible, soften the light or change its direction.
Busy backgrounds distract the viewer from the subject. Bright colors, clutter, or strong lines behind your subject pull attention away from facial expression and emotion.
Over-editing is another common mistake. Too much skin smoothing, heavy contrast, or unnatural colors can make portraits look artificial. Subtle edits almost always age better than extreme ones.
Where to Go Next? (Portrait Photography Guides)
Portrait photography is a journey — and every step you take builds confidence and creativity. If you want to deepen your skills, these guides will help you move forward with clarity.
- Understanding the Exposure Triangle for Better Portraits
- How Shutter Speed Affects Portrait Photography
- ISO Explained: Clean Skin Tones & Low-Light Portraits
- Daisy Teaches: Beginner Photography Hub
Each of these lessons connects directly to portrait photography — helping you choose better camera settings, control light, and tell stronger visual stories.
Portrait Photography FAQ
What lens is best for portrait photography?
Prime lenses like 50mm and 85mm are popular for portrait photography because they offer flattering perspective and strong background blur.
What camera settings should I use for portraits?
Start with a wide aperture, a shutter speed of at least 1/125s, and the lowest ISO possible for clean image quality.
Is natural light better than artificial light for portraits?
Natural light is often easier for beginners, but artificial light provides more control and consistency once you understand the basics.
How do I get blurry backgrounds in portraits?
Use a wide aperture, increase the distance between subject and background, and choose a longer focal length.


[…] portrait photography, the camera delivers excellent eye autofocus accuracy, very natural skin tone rendering when […]