Getting the best camera settings for portrait photography doesn’t require expensive gear or years of experience. What matters most is understanding how a few core settings work together to create sharp subjects, soft backgrounds, and natural-looking skin tones.
This beginner-friendly guide focuses on the most effective portrait camera settings in 2026, whether you’re using a mirrorless or DSLR camera. Instead of overwhelming technical theory, you’ll learn practical, real-world settings that work for natural light portraits, everyday shoots, and entry-level cameras.
If you’re shooting portraits and wondering why your photos look flat, blurry, or inconsistent, the issue is almost always your settings — not your camera. By the end of this guide, you’ll know exactly which settings to use, when to adjust them, and which ones to avoid.
Quick Answer: Best Camera Settings for Portrait Photography (Beginner Setup)
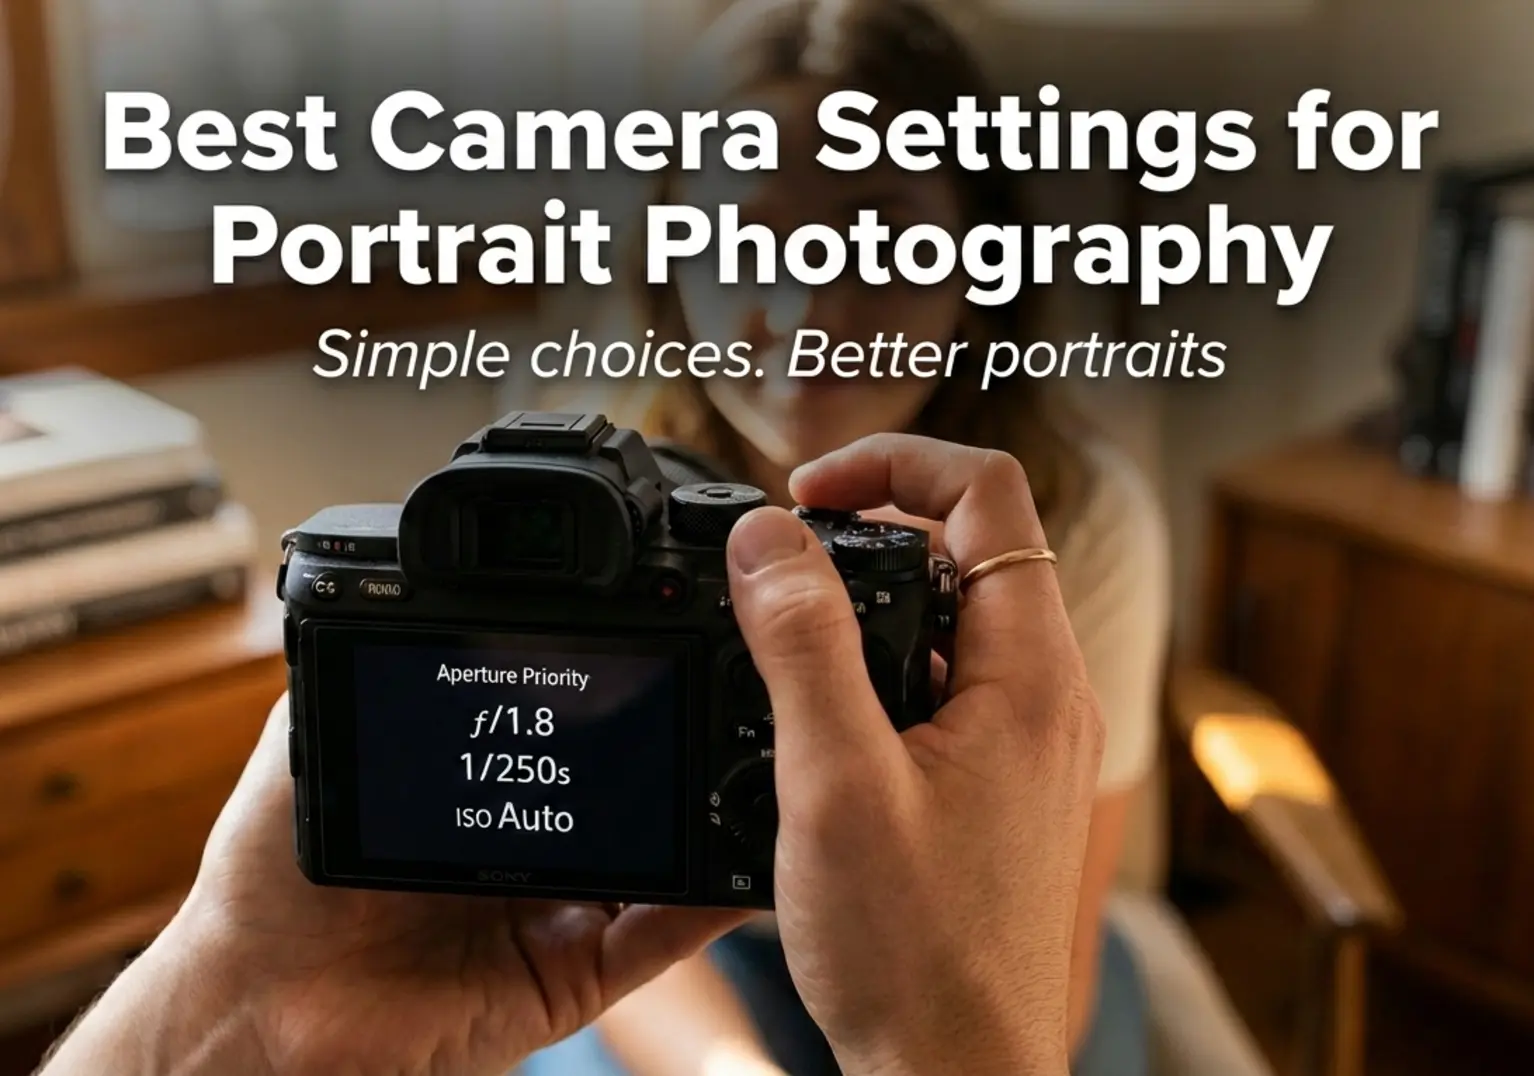
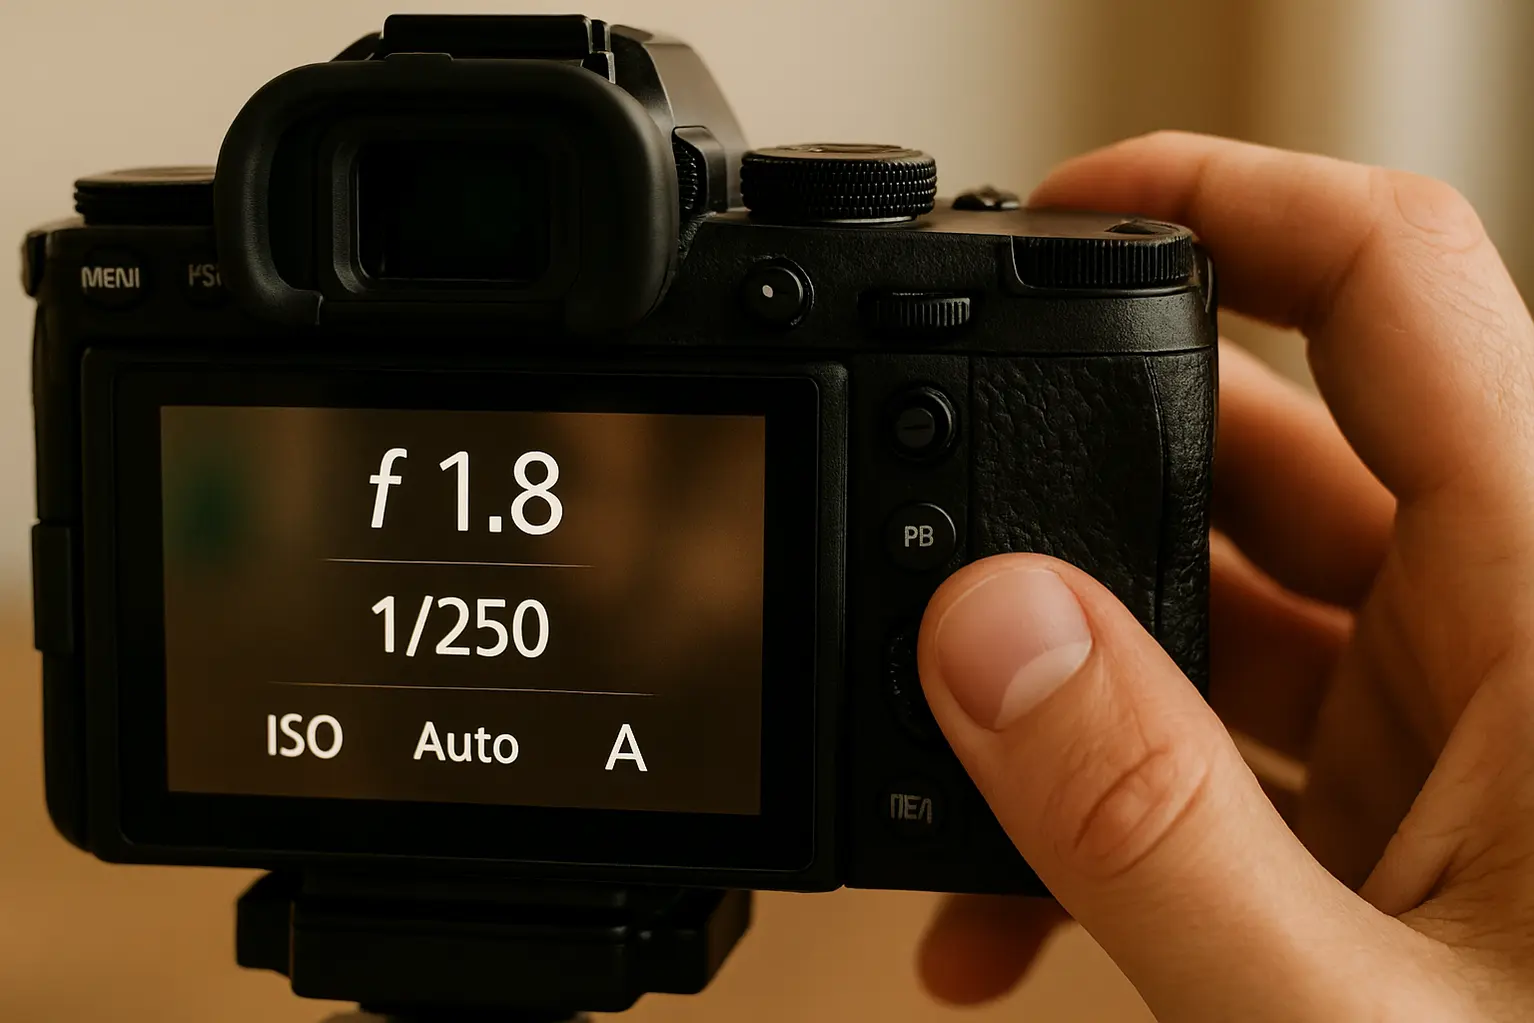
If you want a simple and reliable starting point for portrait photography, use Aperture Priority mode, set your aperture to f/2–f/2.8, enable Auto ISO with a reasonable limit, use Eye Autofocus, and keep your shutter speed above 1/125s for handheld shooting.
This setup works for natural light portraits, beginners learning depth of field control, and anyone who wants sharp eyes with soft background blur without constantly adjusting manual settings.
Who This Guide Is For
This guide is designed for beginner photographers who want to take better portrait photos without guessing their camera settings. If you’re still switching between Auto and Manual mode and wondering why results feel inconsistent, you’re in the right place.
It’s also ideal for new mirrorless camera users who want to understand how modern cameras handle portraits differently from smartphones. Learning the right settings early will help you get cleaner backgrounds, sharper subjects, and more natural-looking results.
Finally, this guide is perfect for portrait shooters using natural light who want reliable settings for everyday situations. Whether you’re photographing friends, family, or clients, these recommendations focus on simple adjustments that deliver professional-looking portraits.
Aperture Settings for Portrait Photography
Aperture is the most important camera setting for portraits because it directly controls background blur, subject separation, and overall image depth. Choosing the right aperture can instantly make your portraits look cleaner and more professional, even with entry-level gear.
Why Aperture Matters for Portraits
In portrait photography, aperture determines how much of your image appears sharp versus softly blurred. A wider aperture helps isolate the subject from the background, drawing attention to the eyes and facial details while minimizing distractions.
This effect becomes even more important when using longer focal lengths or shooting in busy environments. Combined with the right lens, aperture choice is what creates the classic portrait look with smooth background blur.
Recommended Aperture (f/1.8 vs f/2.8 vs f/4)
For most portraits, an aperture between f/1.8 and f/2.8 delivers the best balance of subject separation and sharpness. These settings are ideal for headshots and half-body portraits where background blur is a priority.
An aperture of f/4 works better for group portraits or environmental shots where you want more of the scene in focus. It’s also more forgiving for beginners who are still learning precise focusing techniques.
If you’re unsure which aperture works best for your style, lens choice plays a major role. You can see our full breakdown in this guide to the best portrait lenses for beginners and enthusiasts.
Shutter Speed for Sharp Portraits
Shutter speed is the setting that determines whether your portrait looks crisp or slightly blurry. Even with perfect focus and aperture, using the wrong shutter speed can result in soft images, especially when shooting handheld or working with natural light.
Minimum Shutter Speed (Handheld Rule)
A simple rule for sharp handheld portraits is to keep your shutter speed at least equal to your focal length. For example, when shooting at 50mm, you should stay at 1/60s or faster, and at 85mm, aim for 1/100s or faster.
This baseline helps prevent camera shake, especially on cameras without in-body image stabilization. If your subject is perfectly still, these speeds are usually sufficient for clean and sharp portraits.
Kids, Movement & Natural Light Portraits
When photographing children, candid moments, or portraits in natural light, movement becomes the biggest challenge. In these situations, using a shutter speed of 1/250s or faster greatly improves your chances of freezing expressions and gestures.
Natural light portraits often require quick adjustments as light levels change. Learning how shutter speed interacts with aperture and ISO will give you far more control than relying on Auto mode.
If you want a deeper, beginner-friendly explanation, this guide explains shutter speed step by step in real-world scenarios: Daisy Teaches Shutter Speed.
ISO Settings for Clean Skin Tones
ISO controls how sensitive your camera sensor is to light, and it plays a critical role in how clean or noisy your portrait photos look. Choosing the right ISO helps preserve natural skin tones while maintaining enough shutter speed to avoid motion blur.
Auto ISO vs Manual ISO
For beginner portrait photographers, Auto ISO is often the safest option, especially when shooting in changing light conditions. It allows the camera to raise ISO automatically to maintain a usable shutter speed, reducing the risk of blurry images.
Manual ISO gives you more control and is ideal for controlled environments like indoor portraits or studio-style natural light setups. In these situations, keeping ISO as low as possible — typically ISO 100–400 — results in cleaner skin tones and smoother transitions.
If you want a clear explanation of how ISO affects image quality, this beginner-friendly guide breaks it down visually: Daisy Teaches: Understanding ISO.
When Grain Is Better Than Blur
In portrait photography, a slightly grainy image is almost always preferable to a blurry one. Motion blur caused by slow shutter speeds cannot be fixed in post-processing, while moderate ISO noise can often be reduced without damaging skin texture.
This is especially true when photographing people, children, or candid portraits where subtle movements are unavoidable. In low light, increasing ISO to protect shutter speed is the smarter creative decision.
Understanding how aperture, shutter speed, and ISO work together makes this decision much easier. If you need a refresher, this overview explains the relationship clearly: Daisy Teaches: The Exposure Triangle.
Autofocus Settings for Portrait Photography
Accurate autofocus is one of the most important technical factors in portrait photography. Even with perfect lighting and composition, missed focus — especially on the eyes — can instantly ruin an otherwise strong portrait.
Eye AF vs Face AF
Eye AF is the preferred autofocus mode for portrait photography whenever it is available. It locks focus directly onto the subject’s eye, ensuring sharpness exactly where viewers naturally look first.
Face AF works well when Eye AF is unavailable or when the subject is farther from the camera, but it is less precise. For close-up portraits, Eye AF consistently delivers more reliable results.
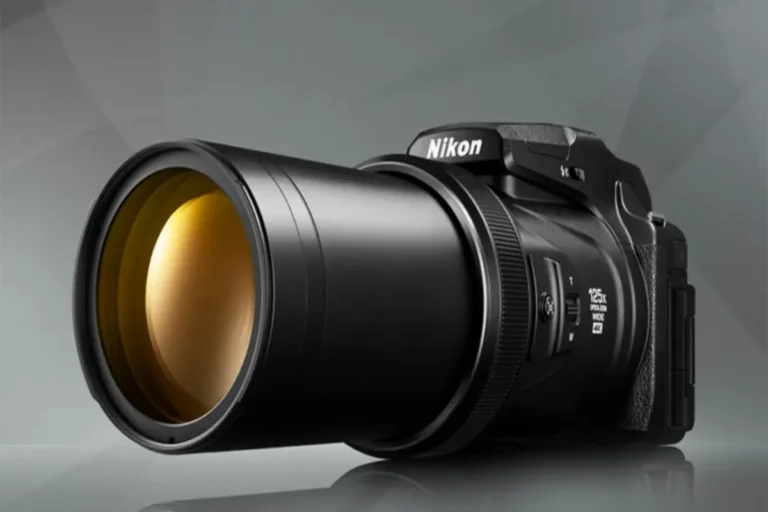
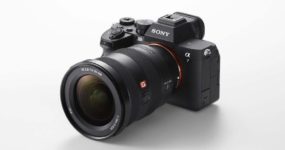
Most modern mirrorless cameras from Canon, Sony, and Nikon now offer dependable Eye AF for humans, making portrait shooting faster and more confidence-driven — especially for beginners.
Check Eye AF Cameras on Amazon
Search on B&H Photo
Tip: Eye AF is especially useful for shallow depth-of-field portraits shot at f/1.8 or wider.
AF-S vs AF-C (One-Shot vs Continuous)
AF-S (One-Shot AF) is ideal for posed portraits where the subject is relatively still. The camera locks focus once, allowing you to recompose before taking the shot.
AF-C (Continuous AF) is the better choice for candid portraits, children, or any situation where the subject may move slightly. It continuously adjusts focus, helping maintain sharp eyes even with subtle motion.
For most real-world portrait photography, AF-C combined with Eye AF provides the highest keeper rate and the least frustration for new photographers.
Check Continuous AF Cameras on Amazon
Search on B&H Photo
Tip: Use AF-C for lifestyle, family, or outdoor portraits where micro-movements are common.
White Balance & Color Settings (Quick Wins)
White balance is one of the most overlooked settings in portrait photography, yet it has a massive impact on natural skin tones. The good news? You don’t need advanced color grading skills to get pleasing results straight out of the camera.
With just a few smart adjustments, you can avoid unnatural color casts and dramatically improve the overall look of your portraits.
Auto WB vs Kelvin
Auto White Balance (AWB) is a perfectly fine starting point for beginners. Modern cameras are very good at detecting neutral tones, especially in daylight and evenly lit environments.
However, AWB can struggle in mixed lighting situations — such as indoor portraits with window light and artificial bulbs — often resulting in inconsistent skin tones between shots.
Using Kelvin White Balance gives you full control and consistency. Once you set the color temperature manually, your camera will stop “guessing” and deliver predictable results.
- Daylight portraits: 5200K–5600K
- Golden hour: 4500K–5000K
- Indoor tungsten light: 3000K–3800K
Quick Tip: If you shoot RAW, minor white balance mistakes are fixable — but getting it right in-camera saves time and improves consistency.
Skin Tones: What Beginners Get Wrong
The most common mistake beginners make is trusting the camera too much and ignoring how skin tones actually look. Cameras often prioritize overall scene balance rather than accurate human color.
Here are a few typical issues:
- Overly warm skin: Faces look orange due to low Kelvin values
- Greenish or magenta casts: Caused by mixed light sources
- Flat, lifeless colors: Overusing neutral or flat picture profiles
For more pleasing portraits, slightly warmer tones usually look better — but subtlety is key. Avoid pushing saturation too far, especially on faces.
Beginner-friendly fix: Use a standard or portrait picture style, keep saturation modest, and prioritize natural skin tones over dramatic color effects.
Recommended Camera Mode for Beginners
Choosing the right camera mode is one of the fastest ways to improve your portrait photography results. Beginners don’t need full manual control on day one — they need consistency, confidence, and predictable exposure.
Aperture Priority (Safest Pick)
Aperture Priority mode (A / Av) is the safest and most recommended option for beginners shooting portraits. It lets you control background blur while the camera automatically handles shutter speed.
This mode is ideal for natural light portraits, family photos, and everyday shooting where lighting conditions change quickly.
- You control depth of field
- The camera adapts exposure automatically
- Less technical stress, more focus on composition
Best practice: Set your aperture (f/1.8–f/4), enable Auto ISO if needed, and focus on your subject’s eyes.
Manual Mode (When to Switch)
Manual mode becomes useful once you want full creative control and complete exposure consistency — especially in studio or controlled lighting situations.
Beginners should switch to Manual only when:
- Lighting is stable and predictable
- You understand how aperture, shutter speed, and ISO interact
- You want identical exposure across multiple shots
Switching too early often slows beginners down and leads to unnecessary frustration. Master Aperture Priority first, then move to Manual with confidence.
Common Beginner Mistakes in Portrait Settings
Most beginner portrait problems are not caused by bad cameras, but by a few small setting mistakes. Fixing these can instantly improve image quality — without buying new gear.
- Shooting wide open in every situation: f/1.8 is great, but not always ideal for sharp eyes
- Ignoring shutter speed: Soft images caused by motion blur
- Overusing Auto White Balance: Inconsistent skin tones across shots
- Trusting ISO too much: Excessive noise instead of controlled grain
- Using the wrong AF mode: Missed focus on eyes and faces
- Chasing blur instead of light: Background blur doesn’t fix bad lighting
Key takeaway: Simple, balanced settings beat extreme choices every time — especially for portraits.
Final Recommendation
Buy this approach if you want better portraits right now without buying new gear: start with Aperture Priority, keep your aperture wide enough to control depth of field, and let your camera handle the rest while you focus on composition and light.
Stick with your current camera if you’re still learning how aperture, shutter speed, and ISO work together — mastering these settings will improve your portraits more than upgrading bodies or lenses.
Skip gear upgrades for now and revisit them only after you consistently get sharp eyes, clean skin tones, and predictable exposure using manual control when needed.
Frequently Asked Questions
What are the best camera settings for portrait photography?
The best portrait settings prioritize shallow depth of field, sharp eyes, and natural skin tones. Start with Aperture Priority mode, use a wide aperture like f/1.8–f/2.8, keep shutter speed fast enough to avoid blur, and let ISO adjust automatically when needed.
Is Aperture Priority better than Manual mode for beginners?
Yes, Aperture Priority is the safest choice for beginners because it lets you control background blur while the camera handles exposure. Manual mode becomes useful later, once you fully understand how aperture, shutter speed, and ISO work together.
What aperture should I use for portraits?
For most portraits, f/1.8 to f/2.8 works best to separate the subject from the background. If you’re shooting groups or want more facial sharpness, f/4 can be a safer option.
Should I use Auto ISO for portrait photography?
Auto ISO is highly recommended for beginners, especially in natural light. It helps maintain sharp shutter speeds without constantly adjusting settings, reducing missed shots.
Do I need a full-frame camera for better portraits?
No, you don’t need a full-frame camera to take great portraits. APS-C and mirrorless cameras can deliver excellent results when paired with the right settings and good light.
Is Eye AF important for portrait photography?
Eye AF makes portrait photography much easier by locking focus on the subject’s eyes, especially at wide apertures. While not mandatory, it significantly improves keeper rate for beginners.