And if photography ever felt confusing, overwhelming, or just a little too technical — you’re exactly where you should be.
Let’s be honest for a moment. When you first pick up a camera, it doesn’t feel creative at all.
It feels like math.
Aperture, shutter speed, ISO… numbers everywhere. Dials, menus, settings — and somehow, your photos still don’t look the way you imagined.
That’s where the Exposure Triangle comes in.
Not as a scary concept. Not as a technical diagram.
But as the simple idea that connects everything your camera does when it captures light.
Once it clicks, everything else suddenly makes sense.
Think of this guide as your home base.
If you’re brand new to photography, this is where you start.
If you’ve already heard these terms but never truly understood how they work together, this is where things finally come together.
In this guide, I’ll walk you through:
- What the exposure triangle really is
- How aperture, shutter speed, and ISO work together
- Which setting to adjust first in real-life situations
- Common beginner mistakes — and how to avoid them
No jargon. No complicated formulas.
Just clear explanations, real-world examples, and practical advice you can actually use.
Understanding how these three settings connect is the biggest step you’ll ever take as a photographer.
Let’s start at the beginning.
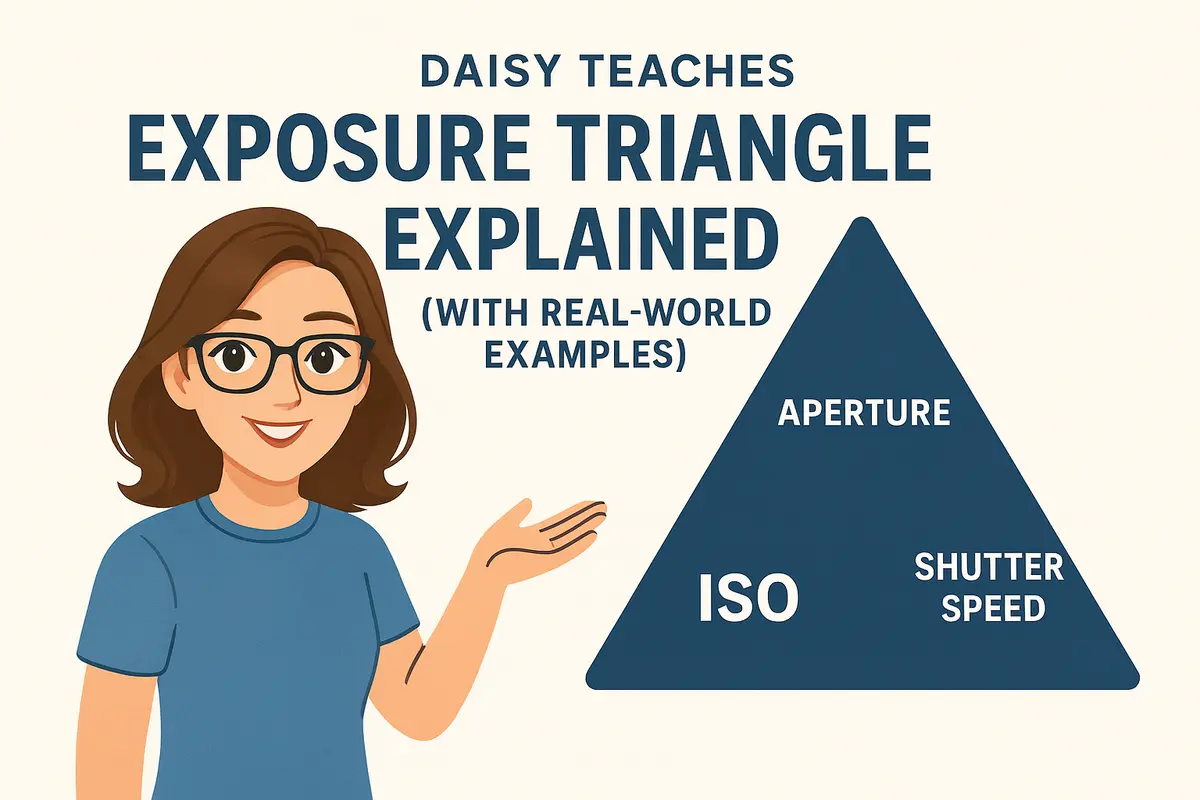
What Is the Exposure Triangle?
At its core, the exposure triangle is a simple idea:
These three settings control how much light reaches your camera’s sensor and how that light is recorded.
Change one, and the others are affected. That’s why we call it a triangle.
If you’ve ever adjusted one setting and suddenly your photo became too dark, too bright, blurry, or noisy — you’ve already met the exposure triangle, even if you didn’t realize it at the time.
Here’s the important part:
It’s about understanding the relationship between light, time, and sensitivity.
Each side of the triangle plays a different role:
- Aperture controls how much light enters the lens and how much of the scene appears in focus.
- Shutter speed controls how long the sensor is exposed to light and how motion is captured.
- ISO controls how sensitive the sensor is to light — and how much noise appears in your image.
None of these settings works alone.
If you open your aperture, you may need a faster shutter speed.
If you lower your shutter speed, you might need to increase ISO.
Every adjustment is a small trade-off.
The real secret is learning how all three work together.
Once you understand this balance, your camera stops feeling random — and starts feeling predictable.
That’s when photography becomes fun.
The Three Pillars of Exposure
Every photograph you take is shaped by three core decisions.
Not the camera brand. Not the lens price.
Just these three settings working together.
Once you understand what each one does — and when to prioritize it — photography becomes a lot less mysterious.
Aperture: Light & Depth
Aperture is the opening inside your lens that lets light in.
A wide aperture allows more light to hit the sensor (modern BSI sensors) and creates a shallow depth of field — that soft, blurry background many people love for portraits.
A narrow aperture lets in less light but keeps more of the scene in focus.
But aperture isn’t just about brightness.
If you’re shooting portraits, food, or detail shots, aperture often becomes your first priority.
We dive deeper into this in our full beginner guide:
👉 Daisy Teaches: Aperture for Beginners
Shutter Speed: Time & Motion
Shutter speed controls how long your camera’s sensor is exposed to light.
A fast shutter speed freezes motion — perfect for sports, wildlife, or street photography.
A slow shutter speed allows motion blur, which can be used creatively for flowing water, light trails, or movement.
This setting directly affects how sharp or dynamic your photo feels.
Shutter speed is especially important when you’re photographing anything that moves — including people.
We’ll explore this in detail very soon in the Daisy Teaches series.
ISO: Sensitivity & Noise
ISO controls how sensitive your camera’s sensor is to light.
A low ISO produces clean, detailed images but requires more light.
A higher ISO allows you to shoot in darker conditions — at the cost of visible noise.
Many beginners avoid ISO, but in real-world photography, it’s often your safety net.
If low light is your challenge, ISO is the setting you’ll rely on most.
For a deeper explanation, you can read:
👉 Daisy Teaches: Understanding ISO
On their own, these settings are simple.
Together, they’re powerful.
How the Exposure Triangle Works in Real Life
Understanding aperture, shutter speed, and ISO separately is helpful —
but photography really starts to make sense when you see how they work together in real situations.
Let’s look at a few everyday scenarios you’re likely to encounter.
Bright Daylight: Too Much Light
You’re outside on a sunny day. There’s plenty of light — maybe even too much.
In this situation, you usually have the luxury of choice.
- Use a low ISO for clean image quality
- Choose your aperture based on depth of field
- Adjust shutter speed to control brightness
Low Light: Not Enough Light
Indoor scenes, evening streets, or dim rooms change everything.
Here, the exposure triangle becomes a balancing act.
- Open your aperture to let in more light
- Lower your shutter speed carefully to avoid blur
- Increase ISO when necessary
This is where many beginners get stuck — trying to avoid ISO at all costs.
Blurry photos are.
Motion: Freezing or Showing Movement
When your subject moves, shutter speed takes priority.
Fast action — sports, kids, pets, street moments — usually requires a faster shutter speed.
That means less light reaching the sensor.
To compensate, you may need to:
- Open your aperture
- Increase ISO
This is a perfect example of how changing one side of the triangle forces changes in the others.
Creative Choices: What Matters Most?
Sometimes exposure isn’t the real goal — expression is.
You might want:
- A blurred background → prioritize aperture
- Frozen action → prioritize shutter speed
- A clean image → prioritize low ISO
it’s about choosing what matters most in that moment.
Once you start thinking this way, your camera stops guessing — and starts following your intent.
Which Setting Should You Adjust First?
This is one of the most common questions beginners ask — and for good reason.
When everything affects everything else, it’s hard to know where to start.
The right starting point depends on what you’re trying to achieve.
Instead of thinking in numbers, think in priorities.
Start with Aperture When Depth of Field Matters
If your goal is a blurred background or maximum sharpness across the scene, aperture should be your first choice.
- Portraits
- Food and detail shots
- Landscapes
Set your aperture first, then adjust shutter speed and ISO to balance exposure.
Start with Shutter Speed When Motion Matters
If your subject is moving — or you are — shutter speed takes priority.
- Sports and action
- Street photography
- Kids, pets, and events
Choose a shutter speed that captures the motion the way you want, then adjust aperture and ISO to compensate.
Start with ISO When Light Is the Limiting Factor
In very low light, ISO often becomes your practical starting point.
You may already be at your widest aperture and slowest usable shutter speed.
At that point, ISO is what allows the photo to happen at all.
- Indoor scenes
- Night photography
- Handheld low-light shots
A Simple Way to Think About It
Motion → Shutter Speed
Light → ISO
Once you choose your priority, the rest of the exposure triangle falls into place.
This way of thinking removes guesswork — and gives you control.
Common Beginner Mistakes with Exposure
Every photographer makes these mistakes at the beginning.
The good news? They’re easy to fix once you know what to look for.
Trying to Fix Everything with Just One Setting
Many beginners rely on a single control — usually ISO or exposure compensation — to fix every photo.
This often leads to images that are technically “bright enough” but still blurry, noisy, or flat.
Ask which part of the triangle is actually causing the problem.
Avoiding ISO at All Costs
ISO has a bad reputation — and it’s mostly undeserved.
Modern cameras handle higher ISO values far better than beginners expect.
Refusing to raise ISO often forces slow shutter speeds and results in motion blur.
Blur usually can’t.
Ignoring Shutter Speed
If your photos look soft or slightly blurry, focus isn’t always the issue.
Shutter speed is frequently the real culprit — especially in low light or when shooting handheld.
This is why understanding shutter speed is essential before blaming your camera or lens.
Not Thinking in Scenarios
Photography isn’t about memorizing settings — it’s about responding to situations.
A sunny day, a dark room, a moving subject — each demands a different priority.
Skipping the Basics
Many beginners jump straight into advanced techniques without fully understanding the fundamentals.
If you’re brand new to photography, you may want to start with our:
👉 Basic Photography Terms Explained
Once the basics are clear, the exposure triangle becomes much easier to master.
Daisy’s Quick Exposure Cheat Sheet
If there’s one part of this guide you come back to again and again, let it be this one.
- Aperture → Controls depth of field and how much light enters the lens
- Shutter Speed → Controls motion and how long light hits the sensor
- ISO → Controls sensor sensitivity and image noise
And when you’re not sure what to adjust first, remember this:
Motion → Shutter Speed
Low light → ISO
You don’t need to memorize exact numbers.
You just need to know which question to ask first.
and start making intentional choices.
Where to Go Next?
Understanding the exposure triangle is the biggest step you’ll take as a beginner.
From here, everything else builds naturally.
If you want to go deeper, here’s where I recommend heading next:
- 👉 Daisy Teaches: Aperture for Beginners
- 👉 Daisy Teaches: Understanding ISO
- 👉 Daisy Teaches: Shutter Speed
- 👉 Basic Photography Terms Explained
This guide will always be here — as your reference point, your refresher, and your foundation.
It’s about understanding light — one step at a time.