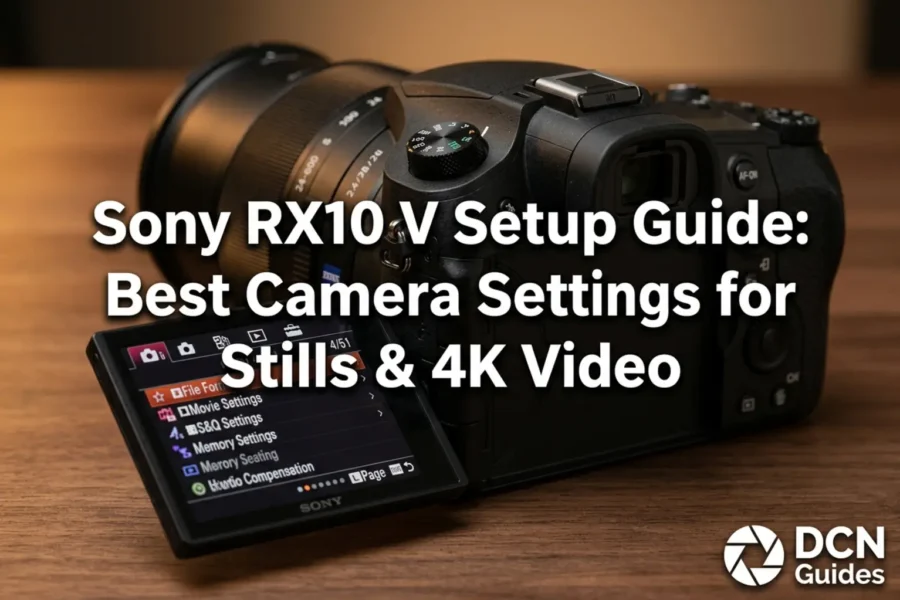
The arrival of the Sony RX10 V represents a major evolutionary leap for all-in-one bridge cameras. While retaining the legendary reach of its integrated 24-600mm f/2.4-4 ZEISS Vario-Sonnar T* lens, Sony overhauled the internal architecture by introducing the modern BIONZ XR processing engine, a dedicated AI Processing Unit, the longer-lasting NP-FZ100 battery, and a streamlined Alpha-style tabbed menu system. However, right out of the box, default factory settings leave much of the camera’s true tracking speed and video potential untapped.
Navigating the camera’s deep menu system can feel overwhelming given its hundreds of customizable parameters. To help you maximize sharpness, battery efficiency, and focus performance, we have compiled the ultimate setup guide for both photography and video workflows. For a full technical deep dive into hardware capabilities, check out our report on the Sony RX10 V price, specs, and release date, follow all ongoing updates on our Sony RX10 V hub, or explore where it sits among the best compact cameras currently on the market.
Quick Reference: Essential Initial Camera Tweaks
Before diving into scenario-specific modes, apply these core system modifications immediately after unboxing your camera:
| Menu Location | Setting Name | Recommended Value | Why Change It? |
|---|---|---|---|
| Shooting > Shutter | Release w/o Card | Disable | Prevents shooting accidentally without a memory card inserted. |
| Shooting > Media | File Format (Stills) | RAW + JPEG / Lossless RAW | Preserves maximum shadow/highlight recovery in post. |
| Shooting > Image Quality | High ISO NR | Low | Avoids smearing fine detail at higher ISO settings. |
| Exposure/Color > Exposure | ISO AUTO Min. SS | Fast or 1/500s+ (for Wildlife) | Forces camera to bump ISO rather than dropping shutter speed on telephoto shots. |
| Setup > Power Save | Auto Power OFF Temp. | High | Allows longer high-bitrate 4K video clips without thermal warnings. |
1. Configuring the BIONZ XR Menu & Main Tile Display
The RX10 V replaces the older horizontal tabbed menu with Sony’s modern vertical colored menu layout. The first screen you see when pressing the MENU button is the Main (Home) Screen, displaying live tiles for active drive modes, focus modes, ISO values, white balance, and remaining card capacity.
For efficient field operation, set up your My Menu (Star Tab) to hold your most frequently adjusted items:
- Format Media: Quick access to wipe memory cards cleanly.
- Subject Recognition Target: Toggle quickly between Human, Animal, Bird, Insect, Car, Train, and Airplane.
- Interval Shoot Func.: Quick configuration for built-in time-lapse shooting.
- Focus Area Limit: Hides focus area shapes you rarely use (like Zone or Expand Spot) so you cycle through modes faster.
- Silent Mode Settings: Toggles electronic shutter silencers for quiet venue or wildlife photography.
Search High-Speed UHS-II SD Cards for RX10 V
Maximize your burst buffer clearing times and enable 600Mbps ALL-Intra video capture:
Check UHS-II SD Cards on Amazon
Shop Memory at B&H Photo
Hardware Tip: The single card slot on the RX10 V supports fast UHS-II SDXC cards. Invest in a V60 or V90 rated card to prevent buffer pausing during 30fps RAW continuous bursts!
2. Best Focus & AI Tracking Setup for Wildlife and Action
Thanks to the onboard AI Processing Unit, autofocus tracking on the RX10 V is vastly superior to older bridge cameras. To get sticky, reliable tracking across the entire 600mm focal reach, configure your AF settings as follows:
Recommended Autofocus Configuration
- Focus Mode: Set to AF-C (Continuous AF). Never use AF-S for moving subjects or extreme telephoto focal lengths where subtle wind shifts throw off focus.
- Focus Area: Select Tracking: Spot M or Tracking: Expand Spot. Place the initial target over your subject, press the shutter half-way, and let the AI lock on across 70% of the frame.
- Subject Recog in AF: Turn ON. Set your primary target (e.g., Bird or Animal).
- Recog Part Select: Set to Eye/Head/Body. This guarantees the camera tracks the animal’s torso even if it turns its head away from the camera.
- AF Tracking Sensitivity: Set to 4 (Responsive) for erratic birds in flight, or 2 (Locked on) if shooting through dense branches or sports fences to avoid focus jumping to foreground obstacles.
Search NP-FZ100 Batteries & Dual Chargers
Keep your RX10 V powered during long outdoor field sessions:
Check NP-FZ100 Batteries on Amazon
Buy Power Accessories at B&H Photo
3. Optimal Video Settings: 4K/120p, S-Cinetone, & Audio
With 10-bit 4:2:2 internal recording, 4K at up to 120fps, S-Cinetone, and a digital audio interface built into the Multi-Interface Hot Shoe, the RX10 V functions as a serious cinema camera. Configure your movie menu for optimum quality:
Video File Format & Codec Setup
- File Format: Select XAVC S-I 4K (ALL-Intra) for highest editing smoothness on desktop NLEs, or XAVC HS 4K (H.265) for smaller file sizes with maximum compression efficiency.
- Movie Frame Rate: Standard filming: 24p or 60p. B-roll action slow-motion: Use S&Q Mode (4K 120p).
- Picture Profile: Select PP11 (S-Cinetone) for rich, natural skin tones and organic highlight roll-off straight out of camera without needing heavy color grading. Select PP10 (S-Log3) if you plan to grade in post.
- SteadyShot (Video): Set to Active Mode for dynamic handheld tracking clips (note: introduces a minor sensor crop), or Standard when resting on a monopod/tripod.
- Handle Audio Sync: If using a direct digital MI shoe mic (like the Sony ECM-M1), ensure Digital Audio Interface is toggled to 24-bit 4-channel mode.
4. Custom Button & Dial Mapping Recommendations
To keep your eyes locked on the 3.68M-dot electronic viewfinder while shooting, remap physical buttons to control key functions on the fly:
- C1 Button (Top Plate): Assign to Focus Area for rapid spot size switching.
- C2 Button (Top Plate): Assign to Subject Recog Target to instantly switch AI recognition from Human to Bird or Vehicle.
- Focus Hold Buttons (Lens Barrel): Assign to Recall Custom Hold 1. Pressing the side lens button will temporarily force 1/2500s shutter speed and wide open aperture for sudden action snaps!
- AEL Button: Assign to AEL hold or Focus Magnifier for manual fine-tuning.
- Aperture Click Switch (Lens): Switch to CLICK OFF for seamless, silent aperture transitions while recording video clips.
Compare authorized pricing on 72mm protection filters, memory cards, and camera bags:
Search 72mm Filters on Amazon | Shop RX10 V Gear at B&H Photo | Browse Store Deals at Adorama
Frequently Asked Questions (FAQ)
Frequently Asked Questions About Setting Up the Sony RX10 V
Q: What filter thread size does the Sony RX10 V lens use?
A: The integrated ZEISS 24-600mm lens utilizes a standard 72mm front filter thread, making it easy to attach 72mm Variable ND or circular polarizer filters.
Q: Does the NP-FZ100 battery improve runtime over older RX10 models?
A: Yes! The NP-FZ100 battery provides more than double the capacity of the older FW50 battery, delivering roughly 630 shots or over 100 minutes of continuous 4K video recording per charge.
Q: Can I charge the RX10 V while shooting via USB-C?
A: Yes, the updated USB-C port supports USB Power Delivery (USB-PD). You can power the camera directly using a portable PD power bank during long time-lapses or studio video sessions.