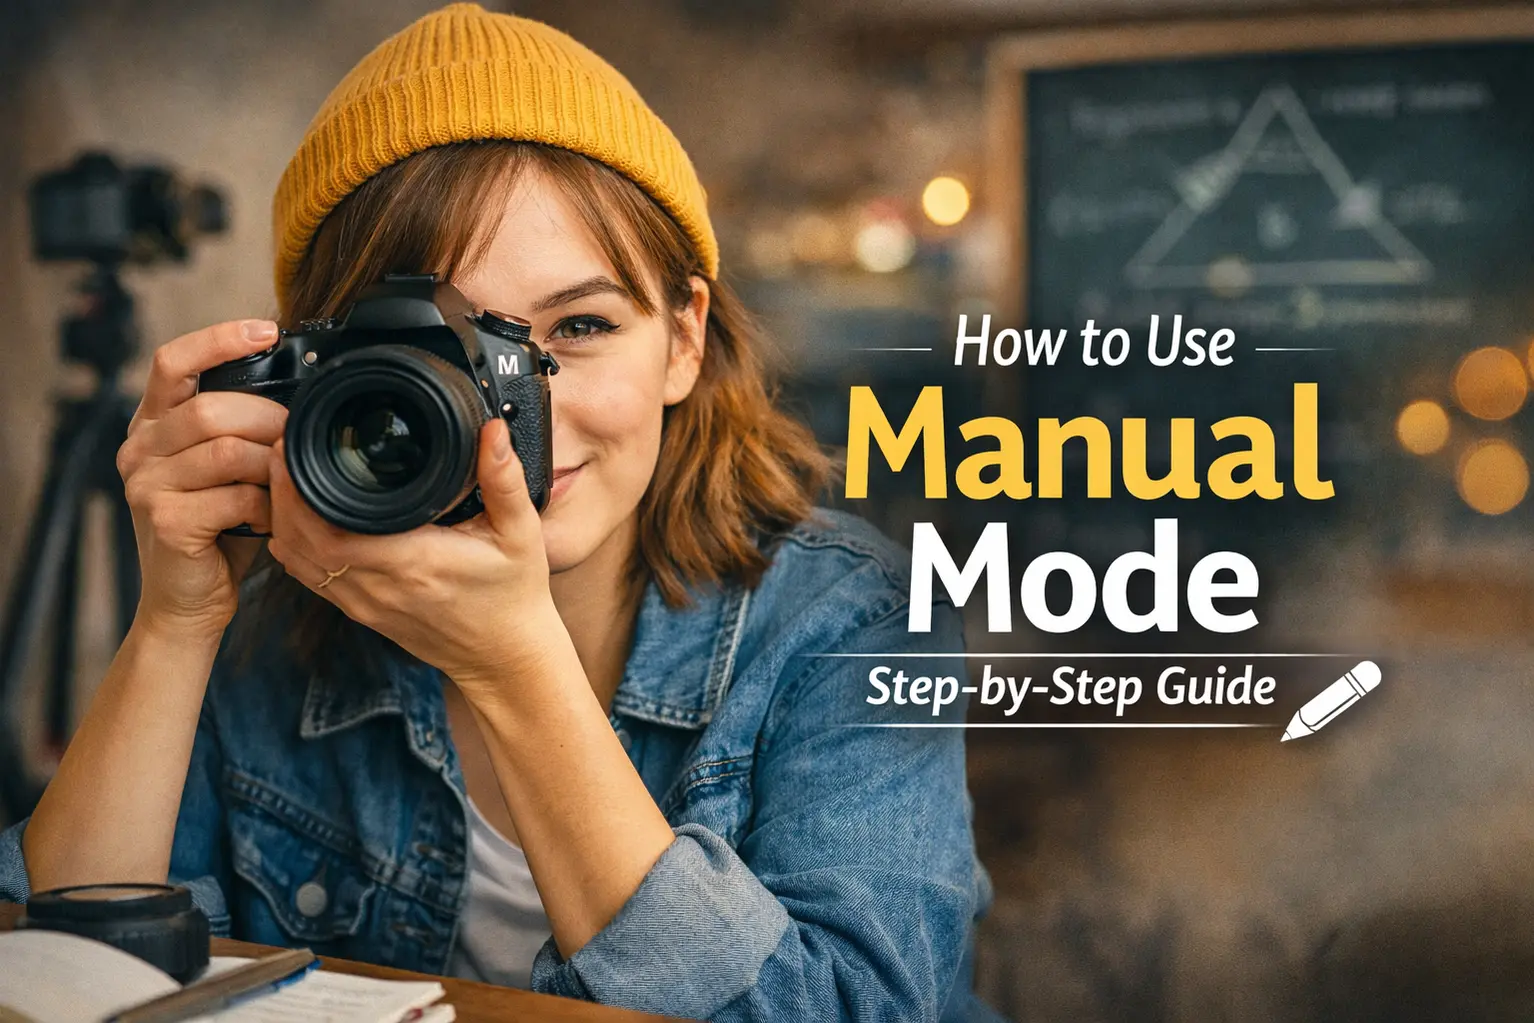
Switching your camera to Manual Mode (M Mode) can feel intimidating at first — three settings, strange numbers, and suddenly your photos don’t look right. But here’s the truth: manual mode is not just for professionals. It’s simply the most direct way to understand how your camera really works.
In this step-by-step beginner guide, you’ll learn how to use manual mode in a clear, practical way — without technical overload or confusing jargon. By the end of this tutorial, you’ll know exactly how to control exposure using aperture, shutter speed, and ISO, and when manual mode actually makes sense in real-world photography.
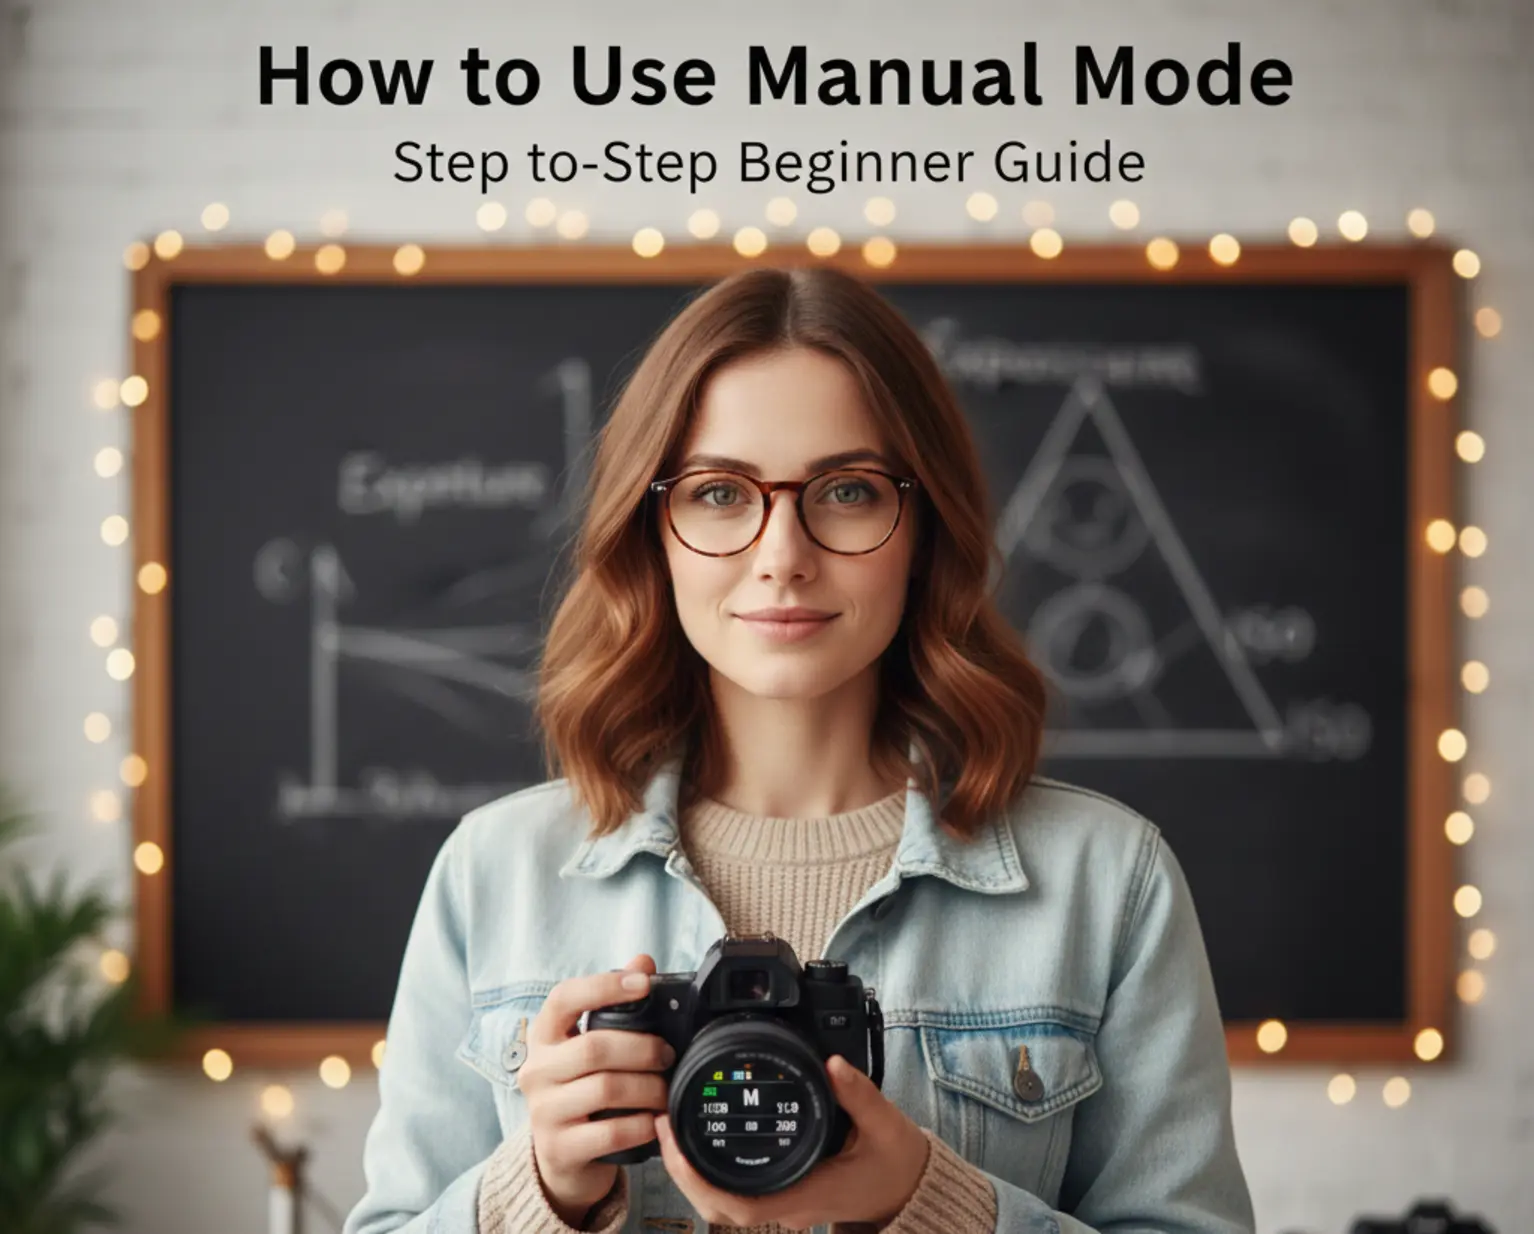
Hi, I’m Daisy 👋
If you’ve ever switched to Manual Mode and thought, “I have no idea what I’m doing” — you’re not alone. I’ll walk you through manual mode slowly, one step at a time, just like I do in all my tutorials. No pressure, no guesswork — just clear explanations that actually stick.
This guide is part of the Daisy Tutorials series on DailyCameraNews, created especially for beginners who want to move beyond auto mode and start taking intentional, confident photos. If you’re completely new, you may also want to bookmark my guide to the Exposure Triangle — it’s the foundation of everything we’ll cover here.
What Is Manual Mode (M Mode) on a Camera?
Manual Mode (M Mode) is a camera setting that gives you full control over exposure. Instead of the camera making decisions for you, you choose the aperture, shutter speed, and ISO yourself.
In auto and semi-auto modes, your camera tries to guess what you want.
Sometimes it gets it right — often, it doesn’t.
Manual mode removes the guesswork and lets you tell the camera exactly how bright or dark your photo should be.
Auto vs Semi-Auto vs Manual Mode
Auto Mode: The camera controls everything. Fast and easy, but very limited.
Semi-Auto Modes (A/Av, S/Tv): You control one setting, the camera handles the rest.
Manual Mode (M): You control aperture, shutter speed, and ISO — total creative control.
If you’re just starting out, semi-auto modes are a great bridge.
But manual mode is where everything finally clicks.
It shows you why your photos look the way they do.
If the relationship between aperture, shutter speed, and ISO still feels confusing, I recommend starting with my beginner-friendly guide to the Exposure Triangle. We’ll use that same logic throughout this tutorial.
Why Learn Manual Mode?
Learning manual mode isn’t about shooting everything manually forever.
It’s about understanding your camera well enough to make better decisions — in any mode.
More Control Over Your Photos
In manual mode, the camera doesn’t decide how bright your image should be — you do.
This is especially useful in tricky situations like:
- Bright snow or beaches
- Dark indoor scenes
- Strong backlight or sunsets
Consistent Results in Changing Light
Auto modes constantly adjust settings as the light changes.
That can lead to inconsistent exposure from shot to shot.
Manual mode keeps your settings locked, so your results stay predictable.
A Faster Learning Curve (Yes, Really)
Manual mode forces you to understand how your camera works.
Instead of guessing, you start recognizing patterns:
- Why photos look blurry
- Why images are too dark or too bright
- How one small change affects the final result
Understanding grows faster when you slow down.
Once you’re comfortable with manual mode, every other camera setting becomes easier to understand — not harder.
The Exposure Triangle Explained (Simple Version)
Every photo you take in manual mode is controlled by three settings working together: aperture, shutter speed, and ISO. This relationship is called the Exposure Triangle.
Change one setting, and at least one of the others usually needs to change too. Once you understand how these three work together, manual mode becomes logical instead of confusing.
Think of the exposure triangle like this:
Aperture controls how much light enters the camera.
Shutter speed controls how long that light hits the sensor.
ISO controls how sensitive the sensor is to that light.
Aperture: Controlling Light and Depth
Aperture is the opening inside your lens.
A wider aperture lets in more light, while a smaller aperture lets in less.
But aperture doesn’t just affect brightness — it also controls depth of field,
which is how much of your image appears sharp.
- Wide aperture (low f-number): Brighter image, blurry background
- Small aperture (high f-number): Darker image, more of the scene in focus
If aperture still feels confusing, I explain it in detail here: Daisy Teaches: Aperture for Beginners.
Shutter Speed: Freezing or Showing Motion
Shutter speed controls how long your camera’s sensor is exposed to light. Fast shutter speeds freeze motion, while slower shutter speeds show movement.
- Fast shutter speed: Sharp action, less light
- Slow shutter speed: Motion blur, more light
Shutter speed is especially important when shooting moving subjects.
For a deeper explanation, see: Daisy Teaches: Shutter Speed Explained.
ISO: Light Sensitivity (and Noise)
ISO controls how sensitive your camera’s sensor is to light.
Raising ISO makes your image brighter — but it also increases noise.
- Low ISO: Clean image, less light sensitivity
- High ISO: Brighter image, more visible noise
ISO is often misunderstood, but it’s easy once you see it in practice.
You can learn more here: Daisy Teaches: Understanding ISO.
then adjust the other settings to balance the exposure.
Now that you understand the exposure triangle, you’re ready to put everything together and start shooting in manual mode.
How to Use Manual Mode: Step by Step
Now that you understand the exposure triangle, it’s time to actually use manual mode.
Don’t worry — you don’t need to memorize everything.
Just follow these steps in order, and manual mode will start to make sense very quickly.
Step 1: Set Your Camera to M Mode
First, turn your camera’s mode dial to M.
This activates manual mode and gives you control over aperture, shutter speed, and ISO.
At this point, your photo may look too dark or too bright — that’s normal.
Manual mode starts neutral and waits for your decisions.
Manual mode always starts unbalanced.
Step 2: Choose Your Aperture First
Start by deciding how you want your photo to look.
Aperture is usually the best first choice because it affects both brightness and depth of field.
- Want a blurry background? Use a wider aperture (lower f-number).
- Want more of the scene in focus? Use a smaller aperture (higher f-number).
Set your aperture based on your subject, not the light.
You’ll adjust brightness later.
Step 3: Set Shutter Speed
Next, adjust your shutter speed.
This controls motion and also affects how much light reaches the sensor.
- Moving subjects need faster shutter speeds.
- Still scenes can use slower shutter speeds.
If your image looks too dark or too bright, don’t panic.
You’re still balancing the triangle.
Step 4: Adjust ISO
ISO is usually adjusted last.
Increase ISO only if you can’t get enough light using aperture and shutter speed.
- Use the lowest ISO possible for clean images.
- Raise ISO when shooting in low light or indoors.
Step 5: Check the Exposure Meter
Look through your viewfinder or screen and find the exposure meter.
It usually looks like a scale with a marker moving left or right.
- Marker in the middle: balanced exposure
- Marker to the left: underexposed
- Marker to the right: overexposed
Aim for the center as a starting point — not as a rule.
Creative photos don’t always need perfect balance.
Step 6: Take the Shot and Fine-Tune
Take your photo, review it, and make small adjustments.
Manual mode is not about getting it perfect on the first try.
If the image is too dark, slightly slow the shutter or raise ISO.
If it’s too bright, do the opposite.
Shoot, check, adjust — repeat.
With practice, these steps become instinctive.
Soon, you won’t even think about them — you’ll just know what to change.
Common Manual Mode Mistakes Beginners Make
Manual mode takes practice, and mistakes are part of the learning process.
Here are the most common issues beginners face — and how to avoid them.
Forgetting About ISO
Many beginners set aperture and shutter speed but forget about ISO.
If your photo looks too dark even with a reasonable shutter speed, ISO is often the missing piece.
Using a Shutter Speed That’s Too Slow
Blurry photos are often caused by shutter speeds that are too slow for handheld shooting.
Even slight hand movement can cause blur.
As a general rule, keep your shutter speed faster than the focal length of your lens.
Focusing on the Wrong Priority
Beginners often chase perfect exposure before deciding what matters most.
In manual mode, look comes first.
Choose aperture for depth of field or shutter speed for motion — then balance exposure around that decision.
When Should You Use Manual Mode?
Manual mode shines in situations where lighting is stable or when you want consistent results. Here are some ideal scenarios.
Landscape Photography
Landscapes benefit from consistent exposure and controlled depth of field. Manual mode lets you lock in settings and focus on composition.
If landscapes are your focus, start here: Landscape Photography 101 (Daisy Guide)
Portrait Photography
Portraits often require precise control over depth of field and skin tones. Manual mode helps keep exposure consistent from shot to shot.
You’ll find a complete beginner-friendly overview here: Portrait Photography Essentials
Wildlife Photography
Wildlife photography often involves tricky lighting and fast decisions. Manual mode works best when light is consistent and you need predictable exposure.
Explore more wildlife tutorials here: Wildlife Photography Guides
Low-Light Scenes
In low light, manual mode gives you control over how far you’re willing to push ISO and shutter speed. This is especially useful indoors or at night.
Studio Photography
Studio lighting is controlled and repeatable. Manual mode ensures every shot looks the same, which is ideal for product and portrait work.
When You Should NOT Use Manual Mode
Manual mode is powerful, but it’s not always the best choice.
Some situations benefit from faster, automated decisions.
Fast Action or Unpredictable Movement
Sports, events, or fast-moving subjects often change too quickly.
Shutter or aperture priority modes react faster than manual adjustments.
Quick Snapshots
If you just want to capture a moment without thinking, auto or semi-auto modes are perfectly fine. Photography is about getting the shot — not proving a point.
Knowing when to use it does.
Daisy’s Beginner Tips for Mastering Manual Mode
Daisy’s Beginner Tips:
• Don’t aim for perfection — aim for understanding.
• Change only one setting at a time while learning.
• Review your photos and ask “why?” instead of “what went wrong?”.
• Practice in calm situations before stressful ones.
• Manual mode is a skill — not a test.
The more you use manual mode, the less you’ll think about numbers.
Eventually, adjusting exposure becomes instinctive.
That’s when photography starts feeling creative instead of technical.
Manual Mode vs Aperture Priority vs Shutter Priority
Manual mode is powerful, but it’s not the only useful shooting mode.
Understanding when to use each one makes you a smarter photographer.
Best for learning, consistency, and controlled environments.Aperture Priority (A / Av): You control aperture, the camera adjusts shutter speed.
Best for portraits, landscapes, and depth-of-field control.Shutter Priority (S / Tv): You control shutter speed, the camera adjusts aperture.
Best for action, sports, and motion control.
As a beginner, you don’t have to choose just one.
Manual mode teaches you how everything works — priority modes help you work faster.
In future Daisy Tutorials, we’ll dive deeper into when each mode shines and how to switch between them confidently.
Final Thoughts: Don’t Fear Manual Mode
Manual mode isn’t about proving you’re a “real photographer.”
It’s about understanding light, motion, and exposure — one step at a time.
If manual mode feels slow or confusing at first, that’s normal.
Every experienced photographer started exactly where you are now.
Use manual mode as a learning tool.
Practice without pressure.
And remember — the goal isn’t perfect photos.
The goal is knowing why your photos look the way they do.
Explore more beginner-friendly guides in the Daisy Tutorials hub and take the next step in your photography journey.
Frequently Asked Questions About Manual Mode
Is manual mode hard for beginners?
Manual mode can feel confusing at first, but it’s not hard once you understand the basics.
By learning how aperture, shutter speed, and ISO work together, beginners can gain full control over exposure step by step.
Should beginners always shoot in manual mode?
No. Manual mode is best used as a learning tool.
Aperture Priority and Shutter Priority modes are often faster and more practical for everyday photography, especially for beginners.
Why do my photos look too dark or too bright in manual mode?
This usually happens when one of the exposure settings is unbalanced.
Check your camera’s exposure meter and adjust ISO, shutter speed, or aperture until the indicator is near zero.
Is manual mode better than aperture priority?
Manual mode gives you more control, but it’s not always better.
Aperture Priority is often better for portraits and landscapes when lighting conditions change quickly.
When is manual mode the best choice?
Manual mode works best in controlled situations like studio photography, landscapes, low-light scenes, or when you want consistent exposure across multiple shots.
How long does it take to get comfortable with manual mode?
Most beginners start feeling comfortable after a few dedicated practice sessions. The key is practicing regularly and adjusting only one setting at a time while learning.