Landscape photography is one of my favorite ways to slow down and notice the world. It’s about light, scale, and the little details that make a scene sing — but it’s also about the right gear and a handful of practical field habits. Whether you’re just starting out or you already know your way around exposure, this guide will help you shoot cleaner, more compelling landscapes. — Daisy
Essential Gear: Why Tripods, Filters, and Wide-Angle Lenses Matter
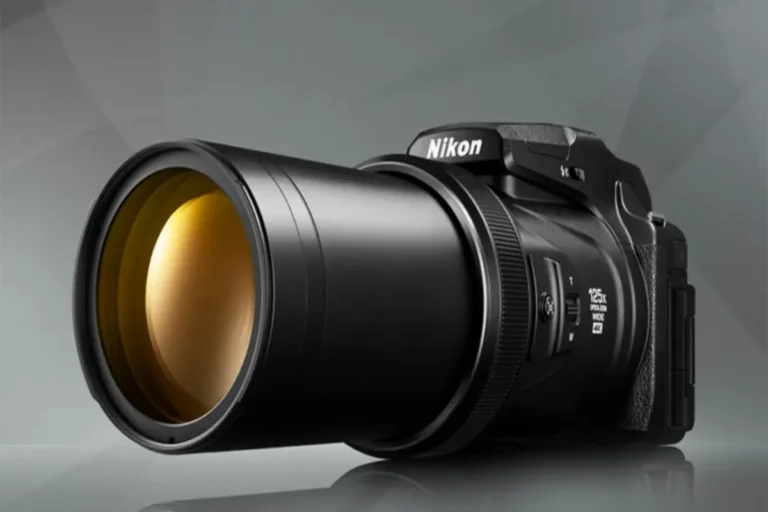
Wide-angle lenses let you capture sweeping scenes and dramatic skies while keeping foreground and background in context. If you want those “big” landscape feels, a good wide-angle is your best friend.
Filters — especially a polarizer (CPL) — are unbelievably useful: they reduce reflections on water, deepen blue skies, and boost color saturation. Neutral density (ND) and graduated ND (GND) filters let you control exposure for long exposures and high-contrast skies.
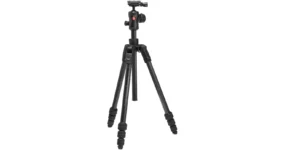
Tripods & remote shutters are essential for sunrise/sunset work and long exposures. A stable tripod gives you consistent framing and tack-sharp results.
Tip: Graduated ND filters help balance a bright sky with a darker foreground — super handy at sunrise and sunset.
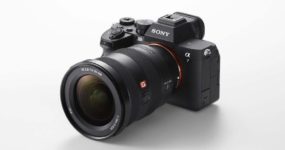
If you’re still choosing a camera for landscapes, here’s my guide to the best options:
Best Cameras for Landscape Photography (2025 Guide)
Choosing the Right Wide-Angle Lens (Mini-Guide)
Not all wide-angles behave the same. Here’s a quick breakdown to help you choose the right focal length:
- 14–18mm: Ultra-wide, dramatic perspective, excellent for vast scenes and strong foregrounds. Can exaggerate depth and stretch edges — great for mountains and seascapes.
- 20–24mm: More natural perspective, less distortion, fantastic for balanced compositions and travel landscapes.
- Prime vs Zoom: Primes are sharper and better in low light, while zooms give you flexibility when framing landscapes on the go.
If you’re serious about landscapes, consider adding both an ultra-wide and a mid-wide zoom to your kit. It gives you flexibility for everything from intimate foregrounds to expansive horizons.
Composition Tips for Better Landscapes
Gear helps, but composition makes the shot. Here are a few habits I use every time I’m in the field:
- Leading Lines: Roads, rivers, and shorelines can guide the viewer’s eye into the frame.
- Foreground Interest: Rocks, flowers, driftwood — anything with texture — adds depth and anchors the image.
- Balance the Elements: Place your main subject off-center and balance it with negative space.
- Keep the Horizon Straight: A tiny tilt can ruin an otherwise perfect landscape. Use the camera’s built-in level.
- Use Layers: Foreground, midground, background — landscapes look stronger with all three.
Weather, Light & Timing
The best landscape photographers are part-time weather forecasters. Soft clouds create gentle light, storm clouds add drama, and clear skies work beautifully for minimalist scenes. Sunrise and sunset give warm, directional light that defines texture and depth.
Blue hour (just before sunrise and after sunset) gives cool tones and soft contrast, fantastic for long exposures with water or cityscapes.
Misty mornings create mood and separation, while backlight during sunset can make grasses and edges glow. Learn to anticipate how weather shifts the mood, and you’ll consistently get better images.
Daisy’s Field Tips
- Use a foreground element. A rock, a puddle, or a branch adds depth and scale.
- Shoot RAW. You’ll rescue shadows and highlights more easily in post.
- Shoot golden hours. Sunrise and sunset give you the best colors and mood for landscapes.
- Use a CPL for water scenes. It reduces reflections and increases color saturation.
- Try long exposures on cloudy days. Clouds and water can look dreamy with 1–30s exposures and an ND filter.
Daisy’s Beginner Landscape Kit
Below are hand-picked categories for a beginner-friendly landscape kit. Each link goes to an Amazon search result. Click to explore product options and prices.
- Wide-Angle Lens:
Explore wide-angle lenses on Amazon - Polarizing Filter (CPL):
Shop polarizers - Neutral Density (ND) Filter:
Find ND filters - Graduated ND (GND) Filter:
Browse GND filters - Photography Tripod:
View tripods - Tripod Head / Ball Head:
Find ball heads - Filter Holder & Adapter Rings:
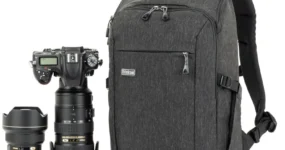
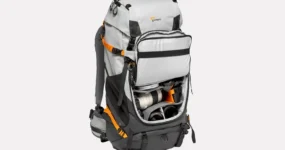
Grab filter holders & adapters - Camera Backpack:
See camera backpacks - Remote Shutter Release:
Buy remote shutter releases
Quick Shooting Workflow for a Sunrise Landscape
- Arrive early and scout foreground elements.
- Set up tripod and compose with a wide-angle lens.
- Shoot brackets: base exposure +1.5 to +2 stops and -1.5 to -2 stops (if you plan to blend or use HDR).
- Use CPL to manage reflections; use ND/GND when dynamic range is extreme.
- Keep an eye on changing light — shoot frames every few minutes during the golden hour.
Final Notes from Daisy
Landscape photography rewards patience and experimentation. Gear helps, but the difference-maker is practice: try new angles, experiment with filters and exposure times, and learn to read light. If you enjoyed this guide, check out more Gear Guides and Tutorials on DailyCameraNews.
— Daisy