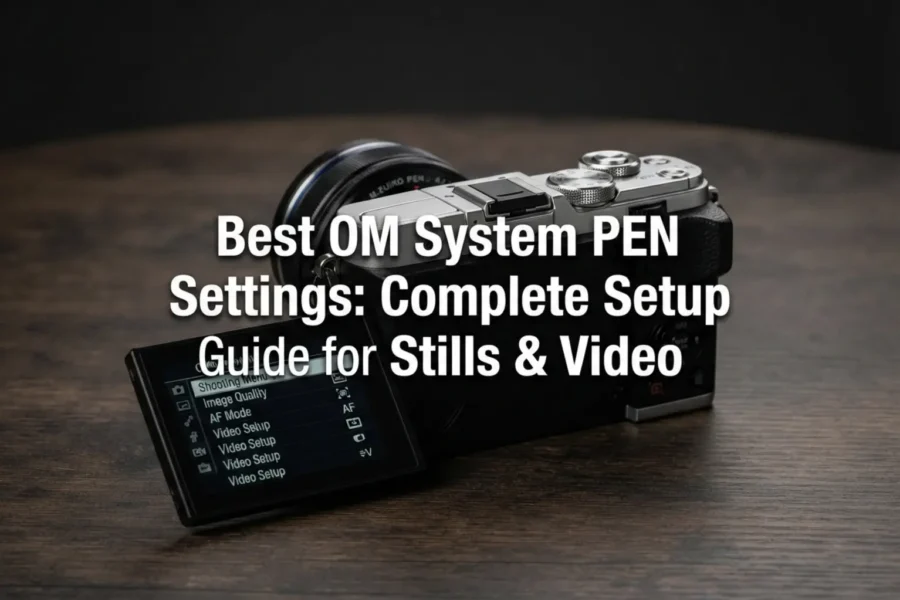
The OM System PEN series (and legendary Olympus PEN predecessors) stands as one of the most iconic, stylish, and portable camera lines in the Micro Four Thirds ecosystem. Combining rangefinder-inspired aesthetics, effective 5-axis In-Body Image Stabilization (IBIS), and dedicated creative Color/Monochrome Profile controls, these compact bodies are built for daily street shooting, travel, and candid photography.
However, out of the box, default factory menus don’t fully unlock the speed and customizability built into these Micro Four Thirds bodies. To help you get the most out of your camera, this comprehensive setup guide breaks down the best settings for OM System PEN cameras across street shooting, low-light photography, creative B&W profiles, and 4K video recording.
Before diving into deep menu tweaks, make sure your camera is paired with the right glass and ergonomic gear by checking out our companion Best OM System PEN Accessories Guide.
Daisy’s Take: The single coolest feature on advanced PEN bodies is the front Creative Profile Control dial! On cameras like the PEN-F and E-P7, you can switch from standard full-color shooting to deep, high-contrast black-and-white film simulations with a simple twist. To maximize this dial, set your Monochrome Profile 2 with a grain effect and a simulated Red Filter for dramatic street portraits right out of the box!
Essential Photography Settings: Base Menu Setup
| Menu Feature | Recommended Setting | Why Change It? |
|---|---|---|
| Image Quality | RAW or RAW + JPEG (Super Fine) | Preserves maximum dynamic range for editing while keeping instant JPEG preview. |
| Image Stabilizer (S-IS) | S-IS Auto / S-IS1 | Engages 5-axis IBIS to compensate for horizontal, vertical, and rotational shake. |
| Shutter Mode | Anti-Shock (Heart) / Silent (Heart) | Prevents shutter shock distortion and provides 100% silent electronic capture. |
| Color Space | sRGB (or Adobe RGB for Printing) | Ensures standard color matching across web browsers and mobile editing apps. |
| Card Slot / No Card Release | Off / Disabled | Prevents accidentally taking photos when no SD card is inserted in the camera. |
| AEL/AFL Button | Mode 3 (Back-Button AF) | Separates autofocus start from shutter release for better control in street action. |
Best Autofocus (AF) Settings for Street & Daily Photography
Micro Four Thirds cameras benefit immensely from small lens elements that move swiftly during focus acquisition. Configuring your AF modes properly ensures sharp hit rates whether capturing candid street scenes or moving subjects:
1. AF Operation & Target Modes
- AF Mode:
S-AF(Single AF) for general landscapes and still subjects. Switch toC-AF(Continuous AF) when tracking moving subjects across the frame. - AF Target Area:
Single Target (1-Point)orSmall Target. Using a single small point prevents the camera from accidentally focusing on background clutter during street photography. - Face / Eye Priority AF: Set to
i (Eye Priority Right/Left). This ensures the camera locks onto the nearest eye when photographing people.
2. Master Street Zone Focusing (Snap Focus Setup)
For fast street photography, waiting for autofocus can sometimes cause you to miss a split-second moment. Set up Manual Focus (MF) zone focusing:
- Switch AF Mode to
MFor use the clutch mechanism on lenses like the M.Zuiko 17mm f/1.8. - Set your lens aperture to f/5.6 or f/8. On a Micro Four Thirds sensor, f/5.6 gives a deep depth of field equivalent to f/11 on full-frame.
- Set focus distance to 2 meters (~6.5 feet). Everything from 1.2m to 4m will remain tack-sharp without needing the AF motor to move at all!
Optimizing Custom Buttons & Creative Profile Controls
To keep your eyes on the scene rather than buried in menus, map your primary controls to physical buttons. Navigate to the Custom Menu > Button/Dial/Lever setup:
Recommended Custom Button Mappings
- Fn1 Button: Set to
Magnify / Peaking(Instantly overlays focus peaking lines to verify sharp manual focus). - Fn2 Button: Map to
ISO / White Balance Quick AccessorHighlight/Shadow Control. - Movie Button (Top Plate): Reassign to
AEL/AFLorAF Target Selectionif you rarely shoot instant video. - Front Dial (Profile Control): Set Mode
MONO 2with Red Color Filter Effect and Medium Grain for classic high-contrast black-and-white street rendering.
If you’re exploring the broader Micro Four Thirds system and want to see how PEN bodies compare against weather-sealed OM-1 and OM-5 cameras, take a look at our OM System Micro Four Thirds Guide.
Best Video Settings for OM System PEN Bodies
While PEN cameras are known primarily for street photography, their 5-axis IBIS makes them capable handheld video B-cameras for casual vlogging and travel clips:
1. Base Video Resolution & Bitrates
- Video Mode: Set top dial to
Movie Modeto enable manual exposure controls (M). - Resolution & Frame Rate:
4K UHD 23.98p or 29.97pfor cinematic travel clips. For smooth action or social media conversion, selectFHD 1080p 59.94p. - Picture Mode for Video: Select
MutedorFlat. Turning down Contrast (-2) and Sharpness (-1) preserves highlight and shadow detail for easier color grading.
2. In-Body Stabilization for Video
- M-IS Mode: Set to
M-IS1(Combines sensor-shift IBIS with mild digital stabilization for smooth handheld walking shots). - Wind Noise Reduction:
LoworOff(If using an external mic or windshield cover).
Daisy’s Pro Tip: Turn on Highlight & Shadow Display (Zebra / Clipped Warning) in the display menu! When enabled, blown-out bright highlights turn red on screen while underexposed shadows turn blue. This gives you instant visual exposure feedback so you never clip sky details during high-contrast outdoor shoots!
Frequently Asked Questions (FAQ)
Frequently Asked Questions
Q: What shutter mode should I use to prevent camera vibration?
A: Use Anti-Shock (0 sec) Shutter for everyday stills to avoid mechanical shutter shock. Switch to Silent Shutter (Electronic) when you need 100% quiet shooting in candid street settings.
Q: How do I activate Focus Peaking for manual lenses?
A: Navigate to Custom Menu > AF/MF > MF Assist and enable Peaking. You can also map Peaking to the Fn1 custom button for instant manual focus checks.
Q: What is the best aperture setting for street zone focusing?
A: Shoot at f/5.6 or f/8. Because Micro Four Thirds sensors offer double the depth of field compared to full-frame at the same aperture, f/5.6 keeps almost your entire scene in sharp focus when pre-set to 2 meters.
Summary: Mastering Your PEN Setup
Configuring your camera properly transforms it from a simple travel camera into a fast, intuitive street photography machine. By setting up back-button focus, tuning your 5-axis IBIS, mapping custom Fn buttons, and mastering zone focusing, you can capture split-second moments effortlessly.
Stay up to date with the latest camera releases, firmware updates, and lens guides across the entire ecosystem by browsing our dedicated OM System PEN News Tag!