The Sony A7 V is one of the most versatile hybrid cameras Sony has ever released. Since its official announcement, we’ve covered everything from hands-on impressions and real-world reviews to detailed comparisons, dynamic range tests, sample images, and accessory guides. But even with all that power, one thing remains true:
your results depend heavily on how you set up the camera.
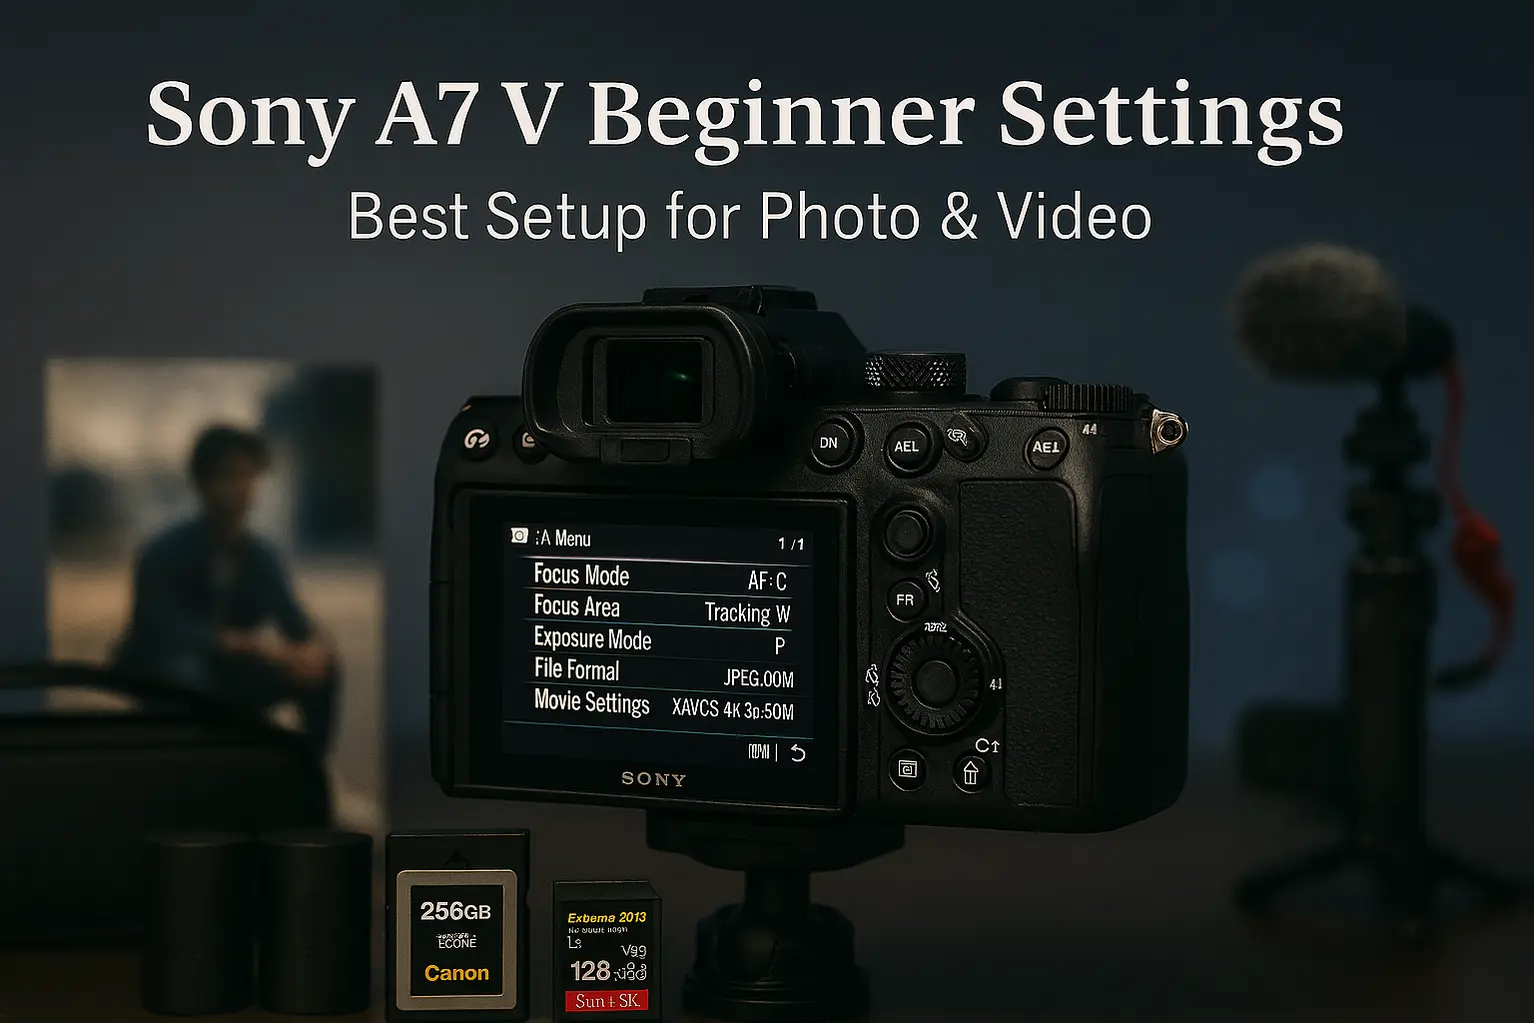
This guide focuses on recommended Sony A7 V settings for beginners—the essential photo and video configurations that deliver consistent, high-quality results without unnecessary complexity. Whether you’re upgrading from an older Sony body like the A7 IV, switching from another system, or buying your first full-frame mirrorless camera, this setup will help you get the most out of your A7 V from day one.
We’ll walk through the most important settings step by step, covering image quality, autofocus, exposure, video basics, and menu customization. Along the way, we’ll also point you toward helpful follow-up guides—such as our Best Lenses for Sony A7 V, recommended accessories, and best memory cards—so you can build a reliable long-term setup.
If you just unboxed your Sony A7 V and want to start shooting with confidence, you’re in the right place.
Why Camera Settings Matter on the Sony A7 V
With its AI-driven autofocus, blackout-free burst shooting, and refined hybrid video features, the Sony A7 V offers far more control than most entry-level full-frame cameras. However, leaving everything on default can lead to missed focus, inconsistent exposure, or unnecessary complexity—particularly if you’re new to Sony’s menu system.
Dialing in a few key settings transforms the shooting experience. The camera becomes faster to operate, more predictable in real-world situations, and far more enjoyable to use. That’s why this guide focuses on practical, beginner-friendly settings rather than advanced tweaks meant for professionals.
Sony A7 V Recommended Settings for Beginners (Quick Overview)
This section provides a quick-start configuration that works well for most everyday shooting scenarios—travel, family moments, casual portraits, and basic video recording. You can always fine-tune these settings later as your skills and shooting needs evolve.
Best Shooting Mode (Photo & Video)
Choosing the right shooting mode is the foundation of a smooth experience on the Sony A7 V. While the camera offers fully automatic and advanced custom modes, two options stand out for beginners:
Aperture Priority (A / Av) – Photography
Aperture Priority is the recommended photo mode for most new Sony A7 V users. You control the aperture, which affects depth of field and background blur, while the camera automatically selects a suitable shutter speed.
- Ideal for portraits, travel, street, and everyday photography
- Lets you easily control background separation
- Works seamlessly with Auto ISO for changing light
Manual Mode – Video
For video, Manual mode is strongly recommended. It allows you to lock exposure settings, ensuring consistent brightness and color throughout your clips—something automatic modes often struggle with.
- Set shutter speed based on frame rate (e.g. 1/50 for 24p, 1/60 for 30p)
- Adjust aperture for desired depth of field
- Use ISO (or Auto ISO with limits) to manage exposure
When paired with the A7 V’s reliable continuous autofocus and oversampled 4K video, this setup delivers clean, professional-looking footage with minimal effort.
Image Quality & File Format Settings
Before diving into autofocus and exposure, it’s important to define how the Sony A7 V records your images. File format and image quality settings determine how much flexibility you’ll have later—both for editing and long-term use.
JPEG vs RAW vs HEIF (Beginner Recommendation)
The Sony A7 V offers three main image formats: JPEG, RAW, and HEIF. Each serves a different purpose, but not all are equally beginner-friendly.
- JPEG: Ready-to-use files with smaller sizes, but limited editing flexibility.
- RAW: Maximum image data, ideal for editing, but requires post-processing.
- HEIF: Higher quality than JPEG with smaller file sizes, supporting 10-bit color.
For most beginners, the recommended setup is:
✔ RAW + JPEG or RAW + HEIF (10-bit)
This gives you instant shareable images while preserving full-quality RAW files for future editing. HEIF is especially useful if you want better color depth without dealing with large RAW-only workflows.
Picture Profiles (What to Use, What to Avoid)
Picture Profiles control how contrast, color, and dynamic range are processed in-camera. While the Sony A7 V includes advanced profiles like S-Log and HLG, these are not ideal for beginners.
- Photography: Use Creative Look profiles instead of Picture Profiles.
- Video (Beginner-friendly): Picture Profile OFF or S-Cinetone.
- Avoid: S-Log2 / S-Log3 unless you’re comfortable with color grading.
Autofocus Settings That Actually Work
Autofocus is one of the Sony A7 V’s biggest strengths. Its AI-driven subject recognition and tracking outperform many competitors—but only if the settings are configured correctly.
AF Mode & AF Area
For beginners, simplicity and reliability matter more than micromanagement. These settings provide excellent results across most shooting scenarios:
- Focus Mode: AF-C (Continuous AF)
- AF Area: Tracking: Wide or Tracking: Zone
AF-C ensures the camera continuously adjusts focus, while Tracking modes allow the A7 V to intelligently follow subjects across the frame.
Eye AF (Human / Animal / Bird)
The Sony A7 V’s Real-time Eye AF is a game-changer for portraits, wildlife, and everyday photography. Once enabled, the camera automatically detects and tracks eyes with impressive accuracy.
- Human: Portraits, events, street photography
- Animal: Pets and wildlife
- Bird: Birds in flight and perched subjects
Exposure & ISO Settings (Beginner Safe Zone)
Proper exposure is key to consistent image quality. The Sony A7 V offers excellent high-ISO performance, making Auto ISO a powerful tool for beginners.
Auto ISO Limits
Using Auto ISO allows the camera to adapt quickly to changing light without constant manual adjustments.
- Minimum ISO: ISO 100
- Maximum ISO: ISO 6400 (safe), ISO 12800 (acceptable)
These limits balance image quality and flexibility, especially for indoor and low-light shooting.
Minimum Shutter Speed
Minimum shutter speed prevents motion blur when using Auto ISO. This is one of the most overlooked—but most important—settings for beginners.
- General use: 1/125 sec
- People & events: 1/250 sec
- Fast action: 1/500 sec or faster
White Balance & Color Settings
Color consistency plays a huge role in how professional your images look. Fortunately, the Sony A7 V handles white balance very well.
Auto WB vs Custom
For most situations, Auto White Balance (AWB) works reliably on the Sony A7 V—especially outdoors and in mixed lighting.
- Use AWB: Travel, street, family, general photography
- Use Custom WB: Studio work, mixed artificial lighting
Creative Look Profiles
Creative Look profiles affect contrast, saturation, and color tone without requiring post-processing. These are ideal for beginners who want pleasing results straight out of camera.
- Standard: Balanced everyday shooting
- Neutral: Softer contrast for editing flexibility
- Portrait: Optimized skin tones
Sony A7 V Video Settings for Beginners
The Sony A7 V is a true hybrid camera, offering excellent video quality without requiring complex professional workflows. With the right settings, you can capture sharp, stable, and natural-looking footage ideal for YouTube, vlogging, and everyday content creation.
This section focuses on simple, reliable video settings that work well straight out of the box—no advanced color grading or complicated profiles required.
Best Video Resolution & Frame Rate
Choosing the correct resolution and frame rate has a major impact on both image quality and ease of editing. For most beginners, higher is not always better.
- 4K 30p (oversampled): Best overall quality for YouTube and general video
- 4K 24p: Cinematic look with slightly less motion smoothness
- 1080p 60p: Smooth motion and easier slow motion
The Sony A7 V’s oversampled 4K delivers excellent detail and color without the need for external recorders or advanced setups.
Stabilization Settings
Stabilization plays a critical role in handheld video. The Sony A7 V combines in-body image stabilization with digital options for smoother footage.
- SteadyShot: ON (Standard) for general handheld shooting
- SteadyShot Active: ON for walking or vlogging
- Tripod use: Turn stabilization OFF
Active stabilization slightly crops the image, but dramatically improves handheld smoothness—making it ideal for casual video and travel footage.
Paired with the A7 V’s reliable continuous autofocus and face/eye tracking, this setup delivers consistent, professional-looking results without additional gear.
Menu Customization & Button Setup
One of the most overlooked advantages of the Sony A7 V is how customizable it is. With a few small tweaks, you can dramatically speed up your shooting workflow and avoid constantly digging through menus.
These recommendations focus on simplicity—giving you quick access to the settings you’ll actually use as a beginner.
Recommended Custom Buttons
Custom buttons let you change key settings instantly without interrupting your shooting flow. Here’s a beginner-friendly setup that works well for both photo and video:
- C1 Button: Focus Area
- C2 Button: ISO / Auto ISO
- AF-ON: Back-button focus (optional but recommended)
- Center Button: Tracking On / Off
This setup keeps your most important controls under your fingers, allowing you to react quickly to changing scenes.
My Menu Setup for Beginners
Sony’s menu system is powerful but deep. The My Menu tab lets you create a personalized shortcut list for your most-used settings.
Recommended items to add to My Menu:
- Focus Mode
- Focus Area
- Eye AF Subject (Human / Animal / Bird)
- ISO Settings
- SteadyShot
- Video Record Settings
Once set up, My Menu becomes your control center—reducing menu fatigue and making the camera feel far more intuitive.
Common Beginner Mistakes to Avoid
Even with a powerful camera like the Sony A7 V, small mistakes can limit your results. Avoiding these common pitfalls will help you get the most out of your gear from day one.
Using the Wrong AF Mode
Many beginners leave the camera in AF-S or use fixed focus areas. This often leads to missed focus, especially with moving subjects.
Fix: Use AF-C with Tracking enabled for most situations.
Overusing Picture Profiles
Advanced profiles like S-Log may seem appealing, but they require proper exposure and color grading. Used incorrectly, they can make footage look flat and lifeless.
Fix: Turn Picture Profiles OFF or use S-Cinetone until you’re ready to grade.
Ignoring ISO Limits
Leaving Auto ISO unrestricted can result in unnecessary noise, especially in low light.
Fix: Set a reasonable maximum ISO and let the camera work within safe limits.
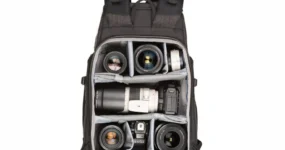
Recommended Accessories to Improve Your Setup
While the Sony A7 V delivers excellent performance on its own, the right accessories can significantly improve comfort, stability, battery life, and overall shooting efficiency—especially for beginners.
Instead of buying everything at once, it’s best to focus on accessories that directly support how you shoot: photo, video, or hybrid use.
Tip: Covers batteries, cages, microphones, gimbals, ND filters, and beginner-friendly gear.
Final Thoughts – Best Beginner Setup for Sony A7 V
The Sony A7 V is an incredibly capable hybrid camera, but its real strength lies in how adaptable it is. By setting up your camera with beginner-friendly defaults, you eliminate friction and focus on what matters most—capturing great photos and video.
You don’t need to master every menu or advanced feature on day one. With the right autofocus configuration, sensible exposure limits, and a clean video setup, the A7 V becomes intuitive, reliable, and confidence-inspiring.
Final Checklist – Sony A7 V Beginner Settings
- ✔ Shooting Mode: Aperture Priority (Photo), Manual (Video)
- ✔ File Format: RAW + JPEG or RAW + HEIF
- ✔ Autofocus: AF-C with Tracking + Eye AF enabled
- ✔ Auto ISO: Max ISO 6400–12800
- ✔ Minimum Shutter Speed: 1/125 sec or faster
- ✔ Video: 4K 30p, SteadyShot Active ON
- ✔ Picture Profiles: OFF or S-Cinetone
- ✔ My Menu: Focus, ISO, Eye AF, Stabilization
Helpful Sony A7 V Guides
Check Sony A7 V Body Only Prices
Tip: Best choice if you plan to invest in higher-quality Sony E-mount lenses.
Check Sony A7 V Kit Deals
Tip: Ideal for beginners who want a ready-to-shoot solution.
Frequently Asked Questions
Are these Sony A7 V settings good for photography and video?
Yes. This guide focuses on hybrid-friendly settings that work well for both photo and video.
Should beginners use S-Log on the Sony A7 V?
No. S-Log is best avoided until you’re comfortable with exposure and color grading.
Is the Sony A7 V good for beginners?
Yes. While powerful, the A7 V becomes very beginner-friendly with the right setup.