Skylum releases new updates version 1.3.0 for its Luminar 2018 & Aurora HDR 2018 photo editing softwares.
Luminar 2018 updated to version 1.3.0 This update include performance improvements, various features enhancements, bug fixes and new cameras support for the Windows and Mac versions.
The update is completely free to all Luminar 2018 users, and here is the instruction how to get it:
On Mac: Please, launch Luminar 2018, on the Top Menu Bar choose Luminar 2018 > Check for updates.
On Windows: Please, launch Luminar 2018, on the Top Toolbar choose Help > Check for updates.
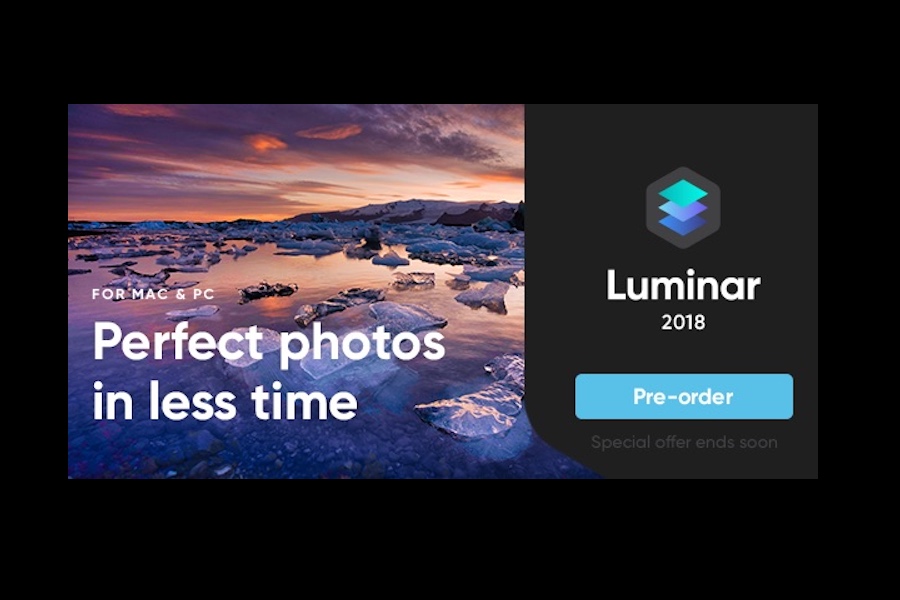
Use coupon code “CAMERANEWS” to save additional $10 on Luminar 2018 and Aurora HDR 2018.
Skylum Updates Luminar 2018 1.3.0
Below you can find the list of fixes and updates.
Luminar 2018 version 1.3.0 for Mac New & Improved Features :
- IMPROVED Raw Develop. The Raw Develop filter has improved handling of the Lens and Transform effects. Effects are not shown on the left side (Before) when using the Compare option. The effects are also not blended with original when using the Filters Amount slider.
- IMPROVED Sharpening. The Sharpening filter is more responsive and accurate. As you adjust the controls all changes are visible in high resolution with real-time feedback.
- IMPROVED Batch Processing. You can now export to several file formats including new options for PDF and JPEG-2000.
- IMPROVED LUT Mapping. You can now easily scroll through your LUTs in the LUT Mapping filter. Just hover your mouse over a LUT and it updates in real-time.
- IMPROVED Language Support. Luminar offers eight Improved localizations: Chinese, Chinese Simplified, French, German, Japanese, Portuguese, Portuguese (Brazil), and Spanish.
- IMPROVED Image History. It is now possible to use the “Save History” option when saving a file with the “Windows Compatible” option. Additionally, White Balance presets are now displayed in an image’s history with the preset name when using the RAW Develop and Develop filters.
- NEW Plugin Support. The following third-party plugins can now be used via the Plugins menu: Imagenomic Noiseware 5, Imagenomic Portraiture 3, Imagenomic Realgrain 2, and DxO FilmPack 5.
- IMPROVED Filter Controls. To save you time, all filter checkboxes can be enabled or disabled by clicking on the control name or the checkbox. Additionally, be sure to try scrubbable number sliders. Just mouse over the value for a filter and then click and drag left or right to move the slider.
- IMPROVED JPEG Controls. Take precise control over JPEG and JPEG-2000 compression. You can see a numeric value for the Quality slider. You can also click on the number and enter a precise value.
Luminar 2018 version 1.3.0 for Windows New & Improved Features:
- NEW Faster opening of RAW-files. You can now open raw files much faster thanks to improvements in our RAW engine.
- NEW White Balance Tool. A new White Balance functionality and eyedropper tool have been added to the Raw Develop, Develop, and Color Temperature filters.
- NEW Image History. It is now possible to use the “Save History” option when saving a file. Additionally, White Balance presets are now displayed in an image’s history with the preset name when using the RAW Develop, Develop and Color Temperature filters.
- NEW Layer Renaming. For all new layers, you add to a document (except for the original image) you can choose to assign a custom name. Just double-click on a layer’s name to edit it. This is a great way to organize adjustment and image overlay layers in your project.
- IMPROVED Filter Performance. You can now add or subtract filters more quickly to an image.
- IMPROVED Blending Modes. When you choose a blending mode for an Adjustment or Image Layer, the experience is even easier. Just hover your mouse over a blending mode and it updates in real-time. This is an easy way to simply mouse-over the list to find the perfect blending mode.
- IMPROVED LUT Mapping. You can now easily scroll through your LUTs in the LUT Mapping filter.
- IMPROVED Language Support. Luminar offers seven improved localizations: Chinese, Chinese Simplified, French, German, Japanese, Portuguese (Brazil), and Spanish.
- NEW Canvas Color. You can now set the Canvas background color to White. Choose View > Background > White to set the working Canvas to White or choose from other shades of gray or black.
- IMPROVED Sharpening. The Sharpening filter is more responsive and accurate. As you adjust the controls all changes are visible in high resolution with real-time feedback.
- NEW DNG Camera Profiles (DCP). Are you looking for truly professional control over your raw files? Then give DNG Camera Profiles a try. Luminar recognizes the industry standard DCP files that you may already have on your computer (or have bought from third parties).
- IMPROVED Batch Processing. Windows users gain the useful Batch Processing improvements. These include the ability to “Replace or Skip Files” when saving the file with the same name when Batch Processing. Additional options include the ability to create JPEG and TIFF files as well as improved reliability when renaming and numbering files on export.